
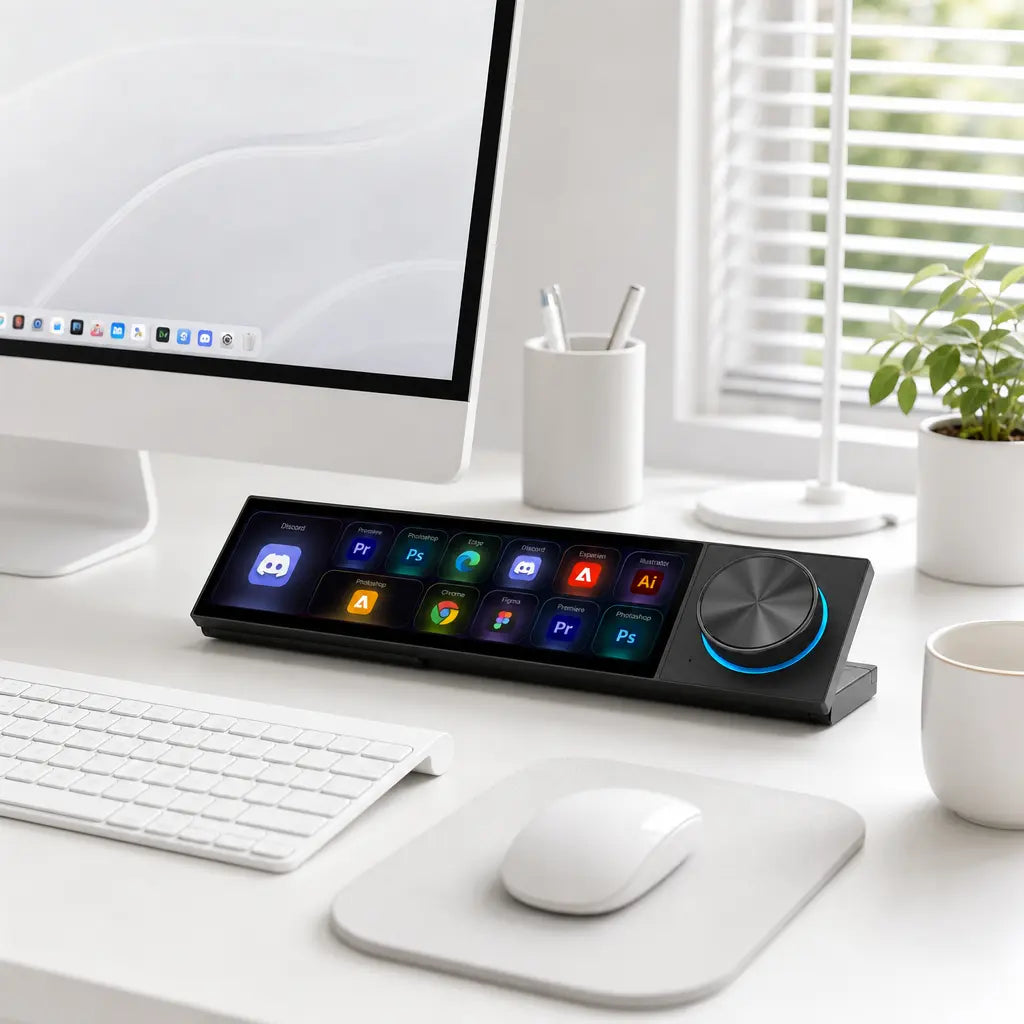
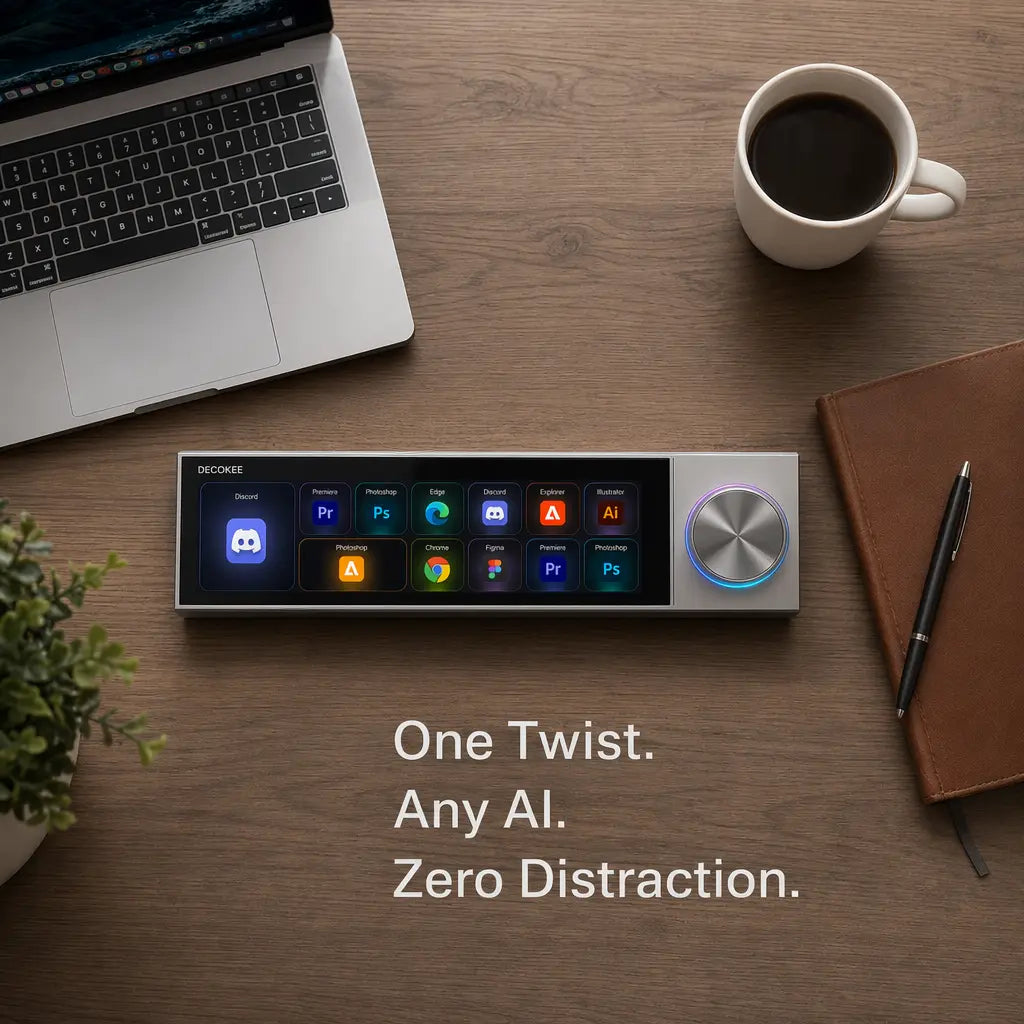
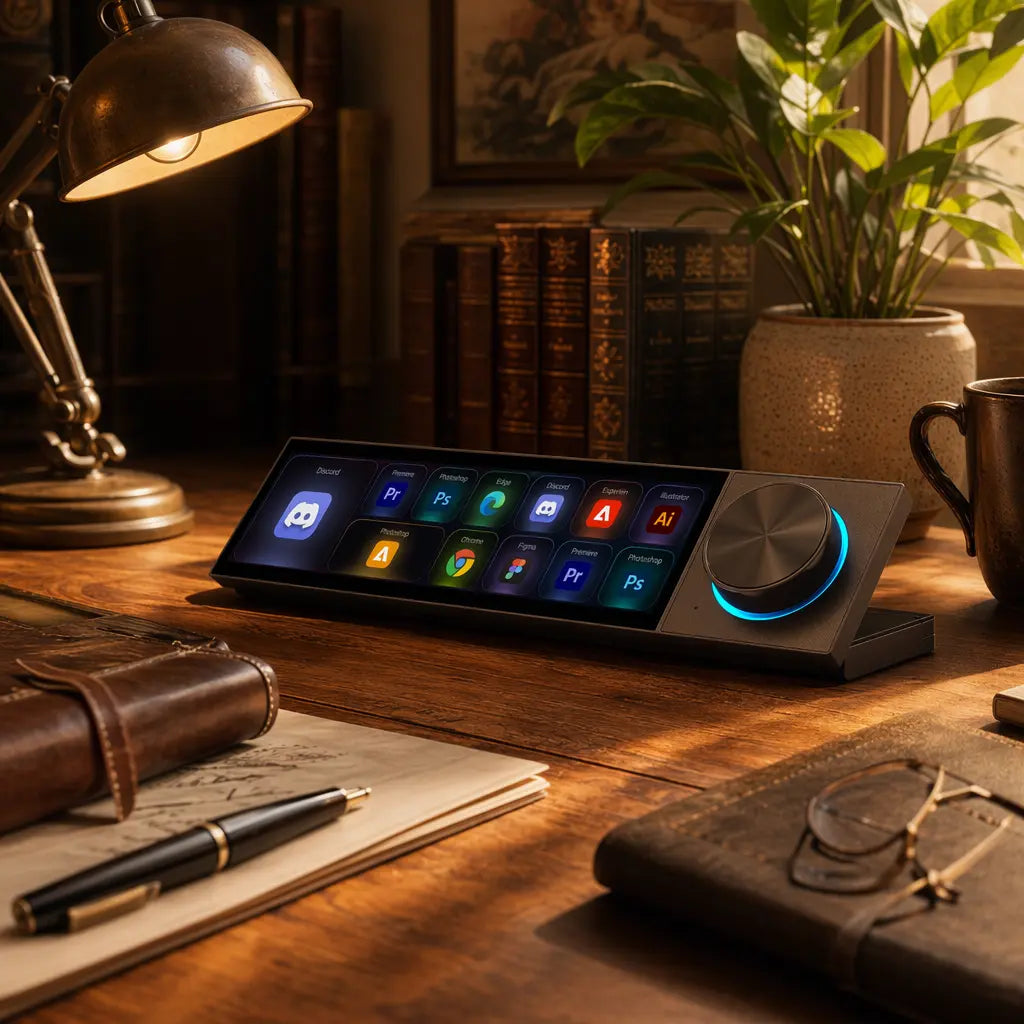
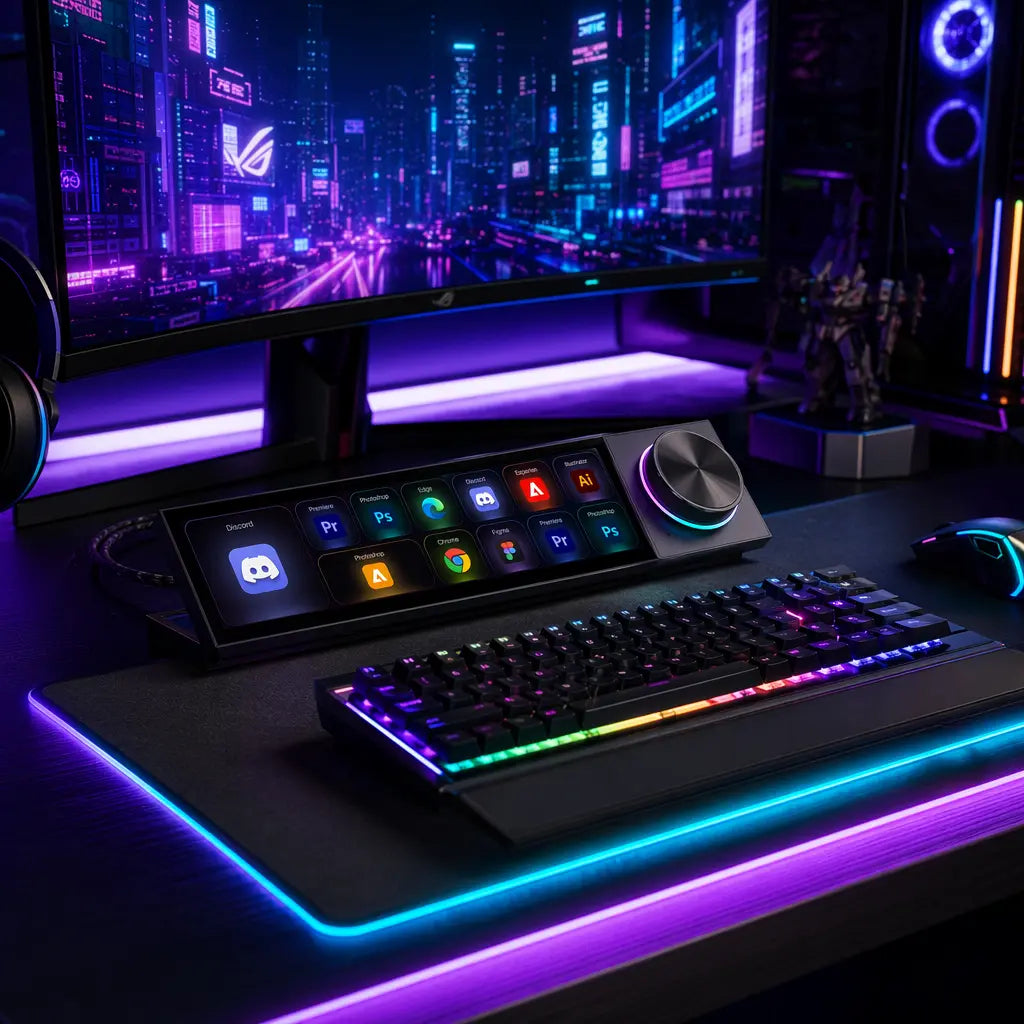
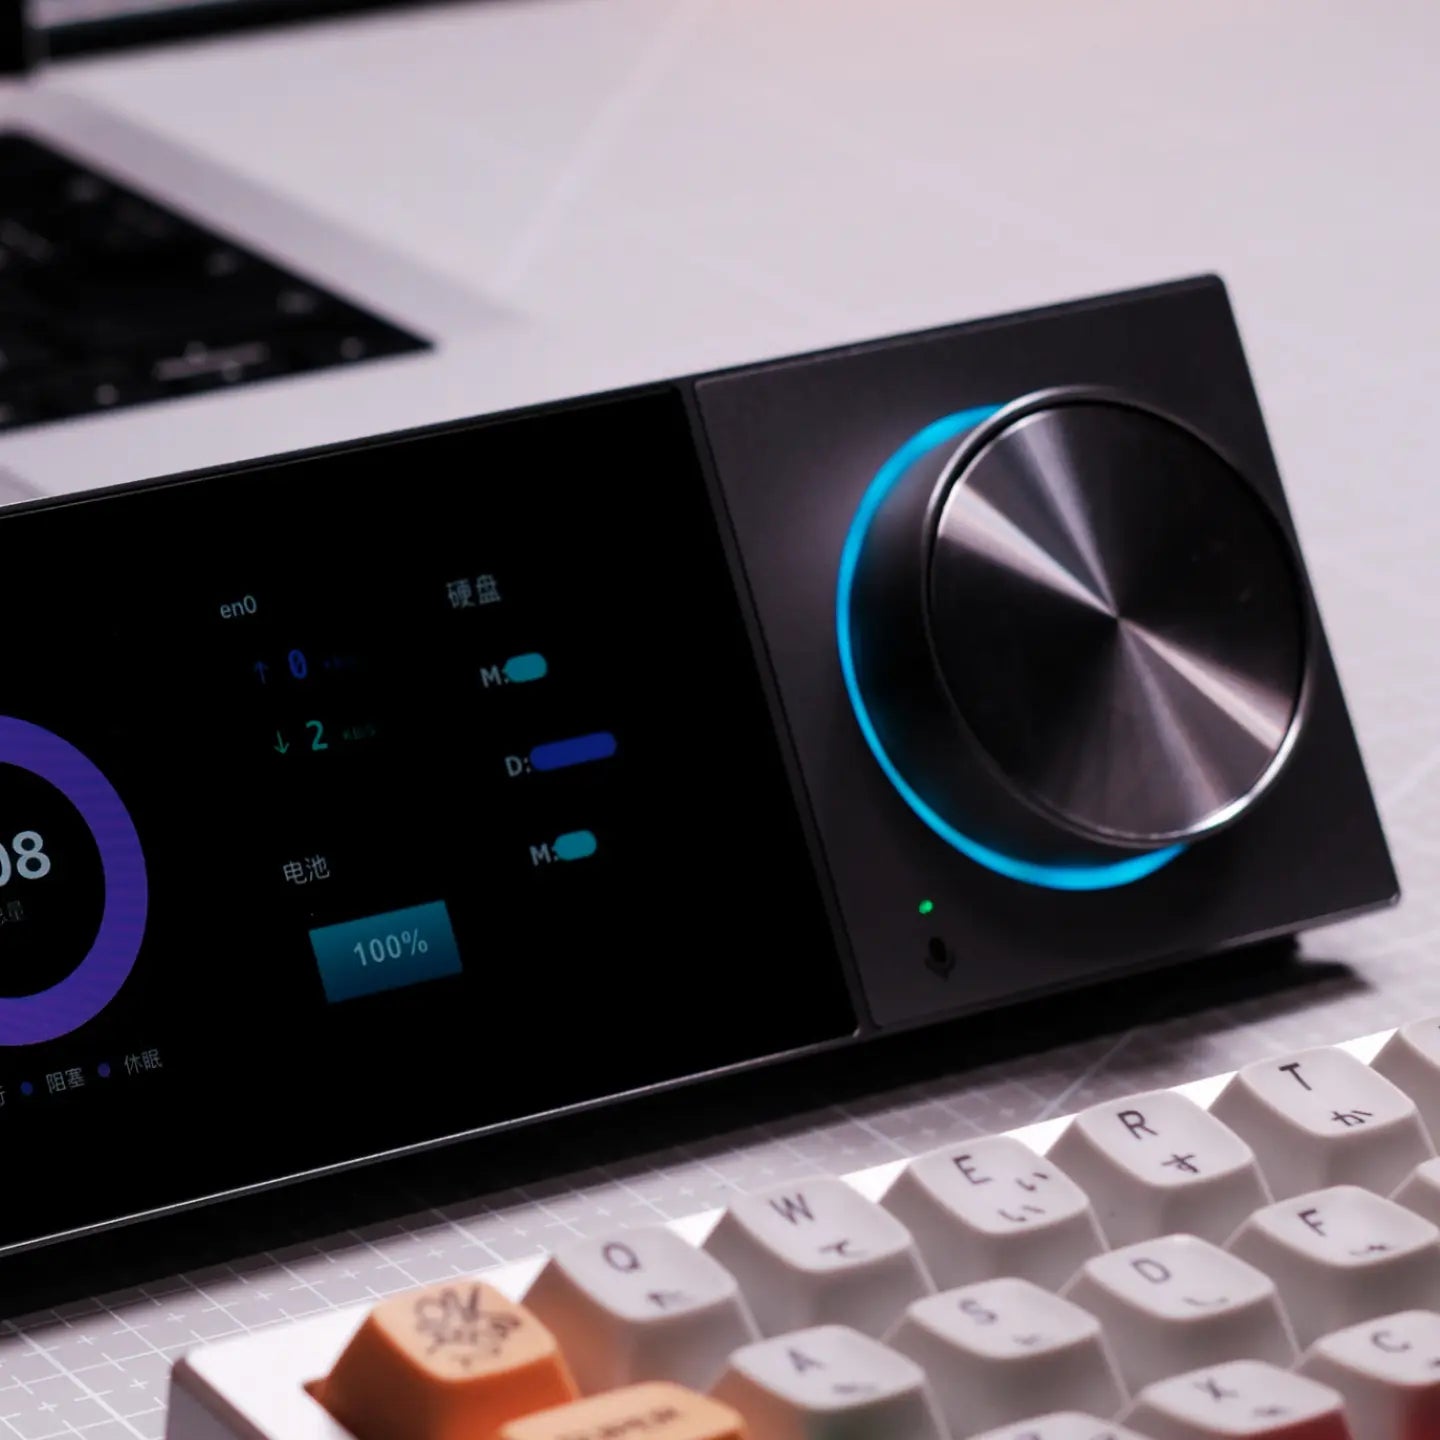
DECOKEE Quake Desktop AI Assistant
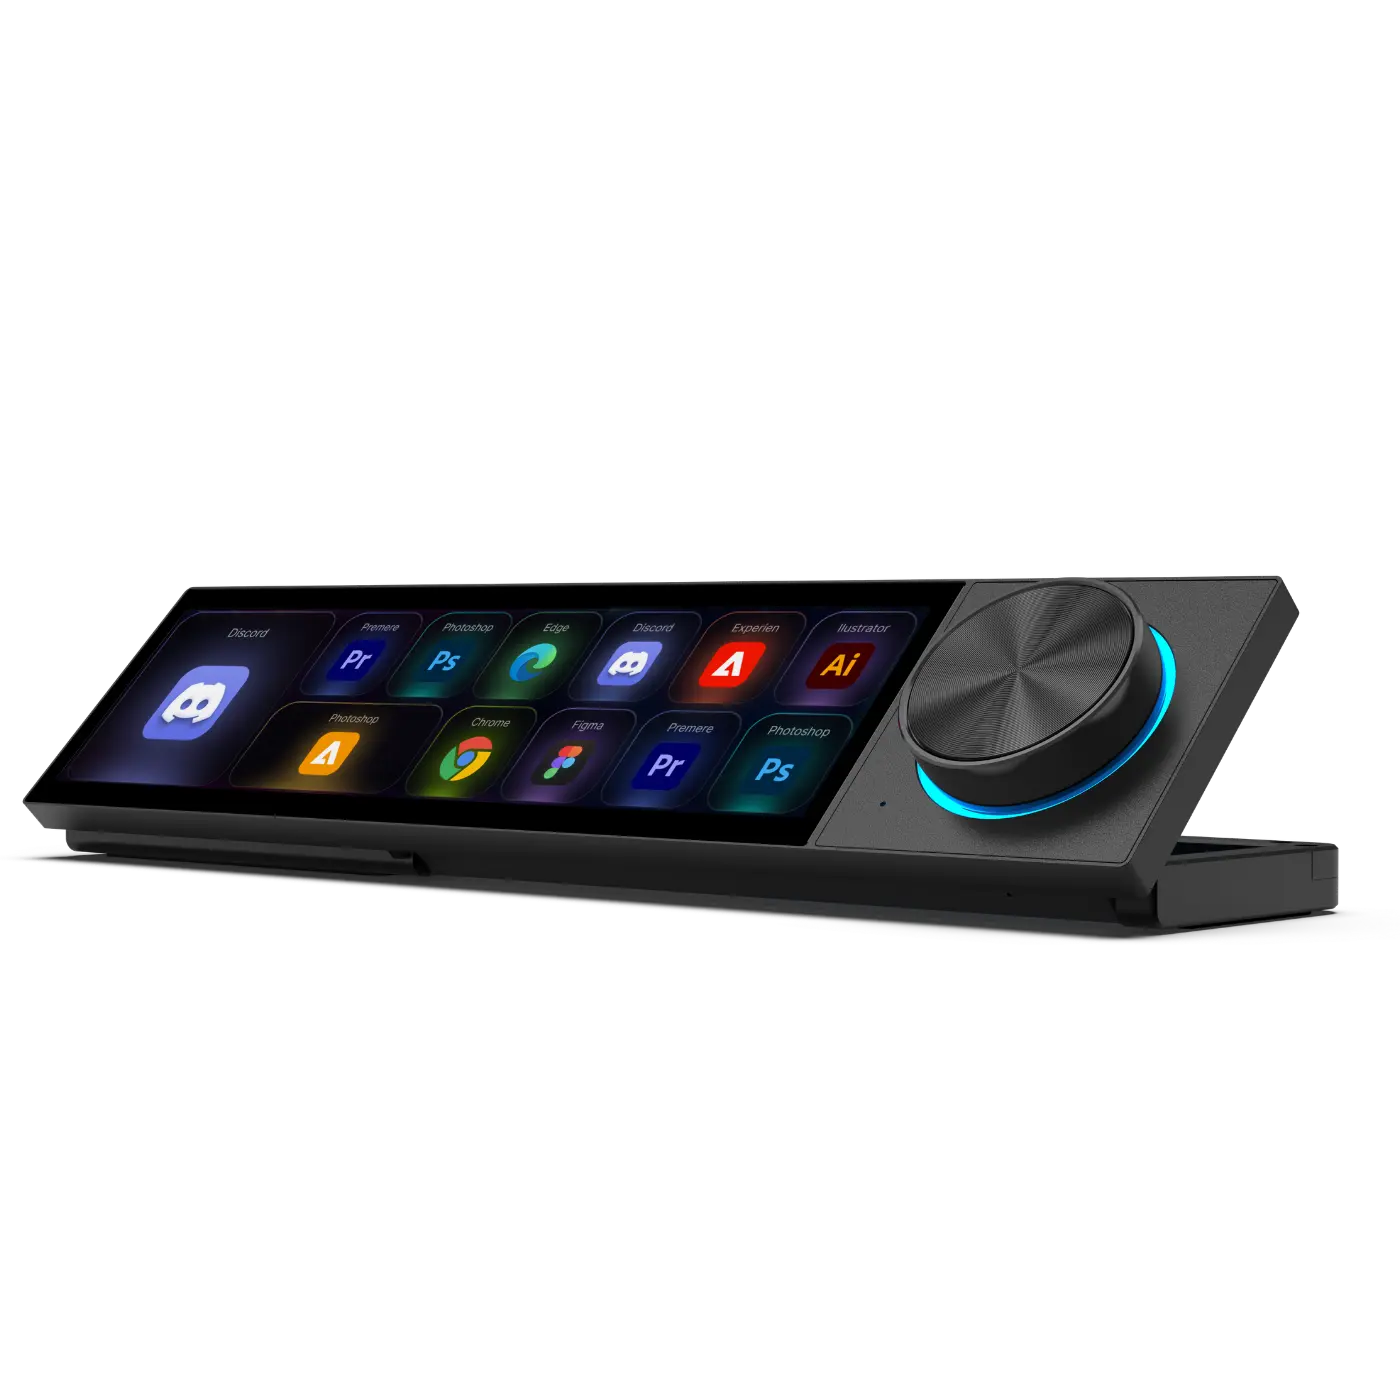
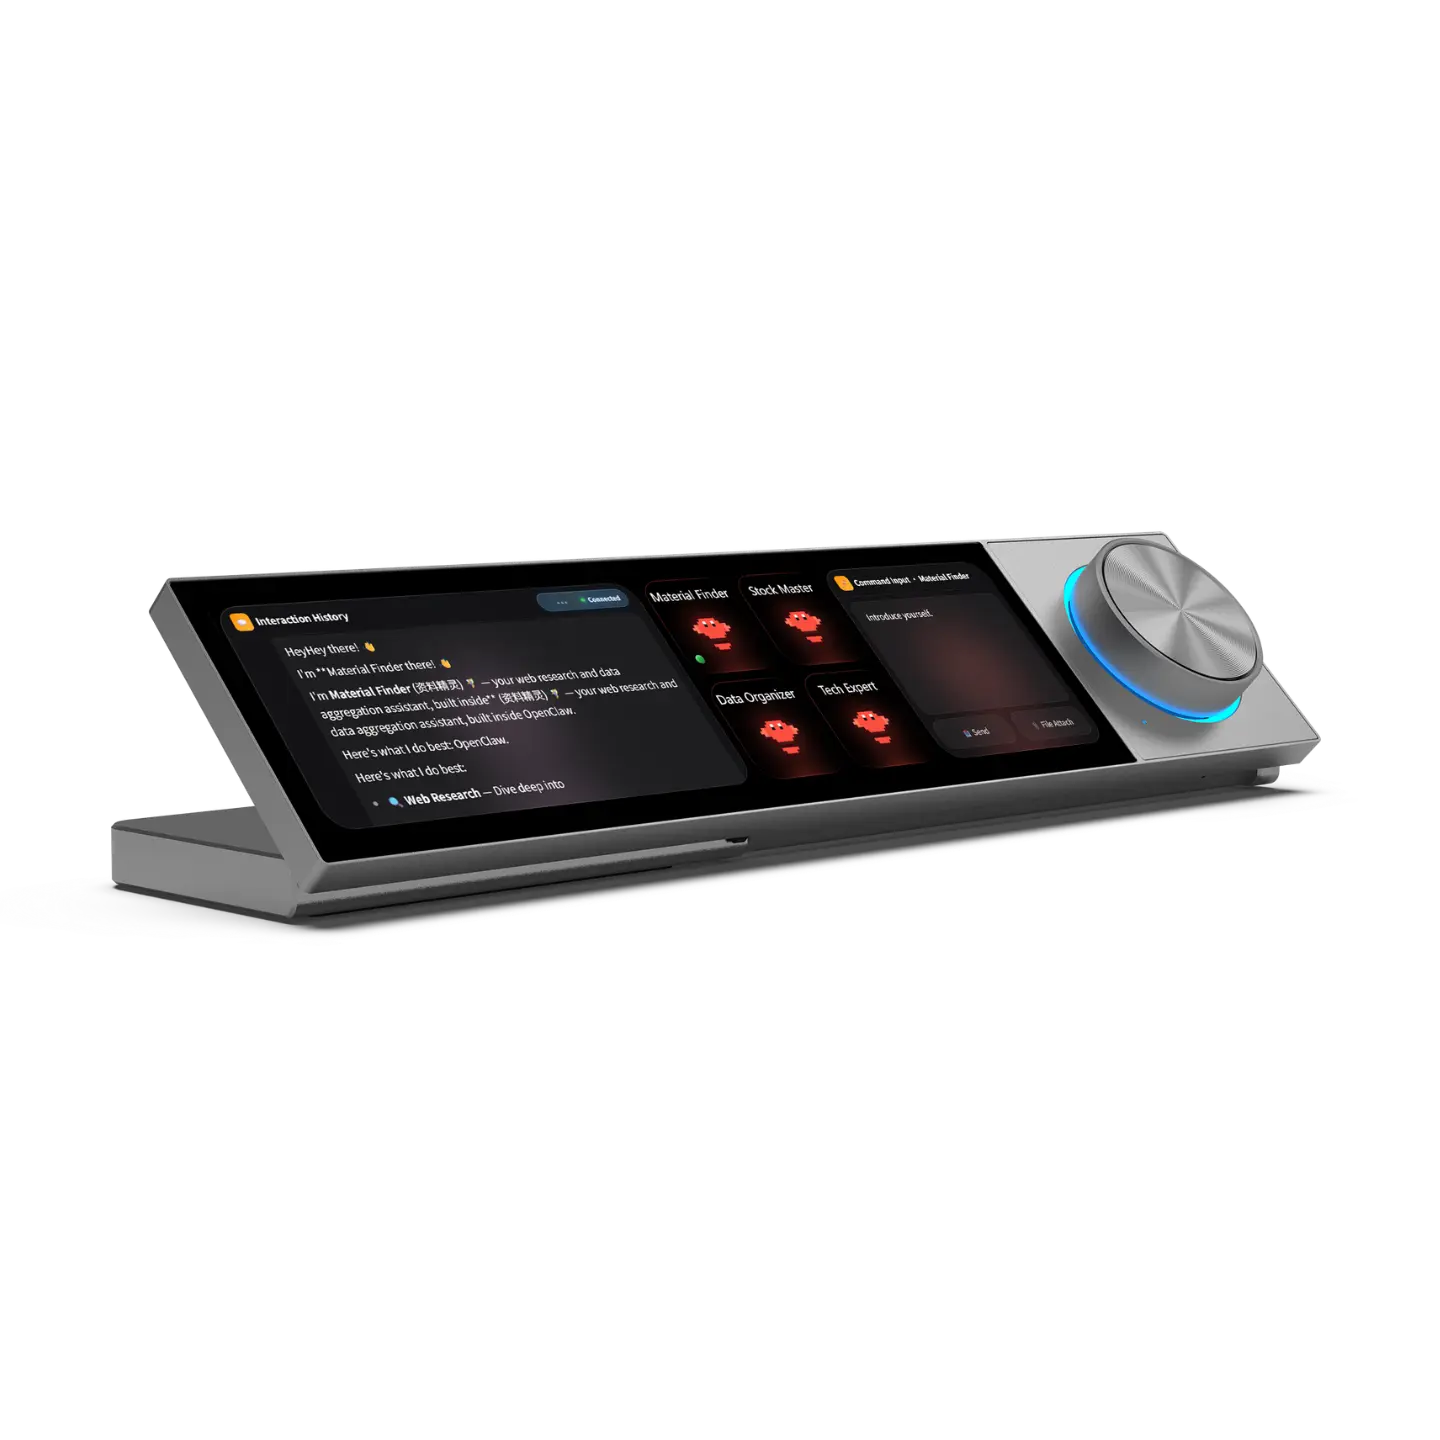
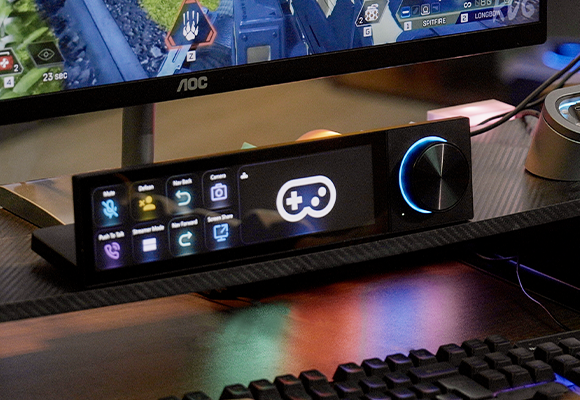
Quake is a compact desktop device that plugs into your computer and brings AI right to your fingertips—literally. A single physical knob lets you switch between 9 smart profiles (writing, coding, translation, research, and more), trigger voice commands, and interact with AI without ever touching a mouse.
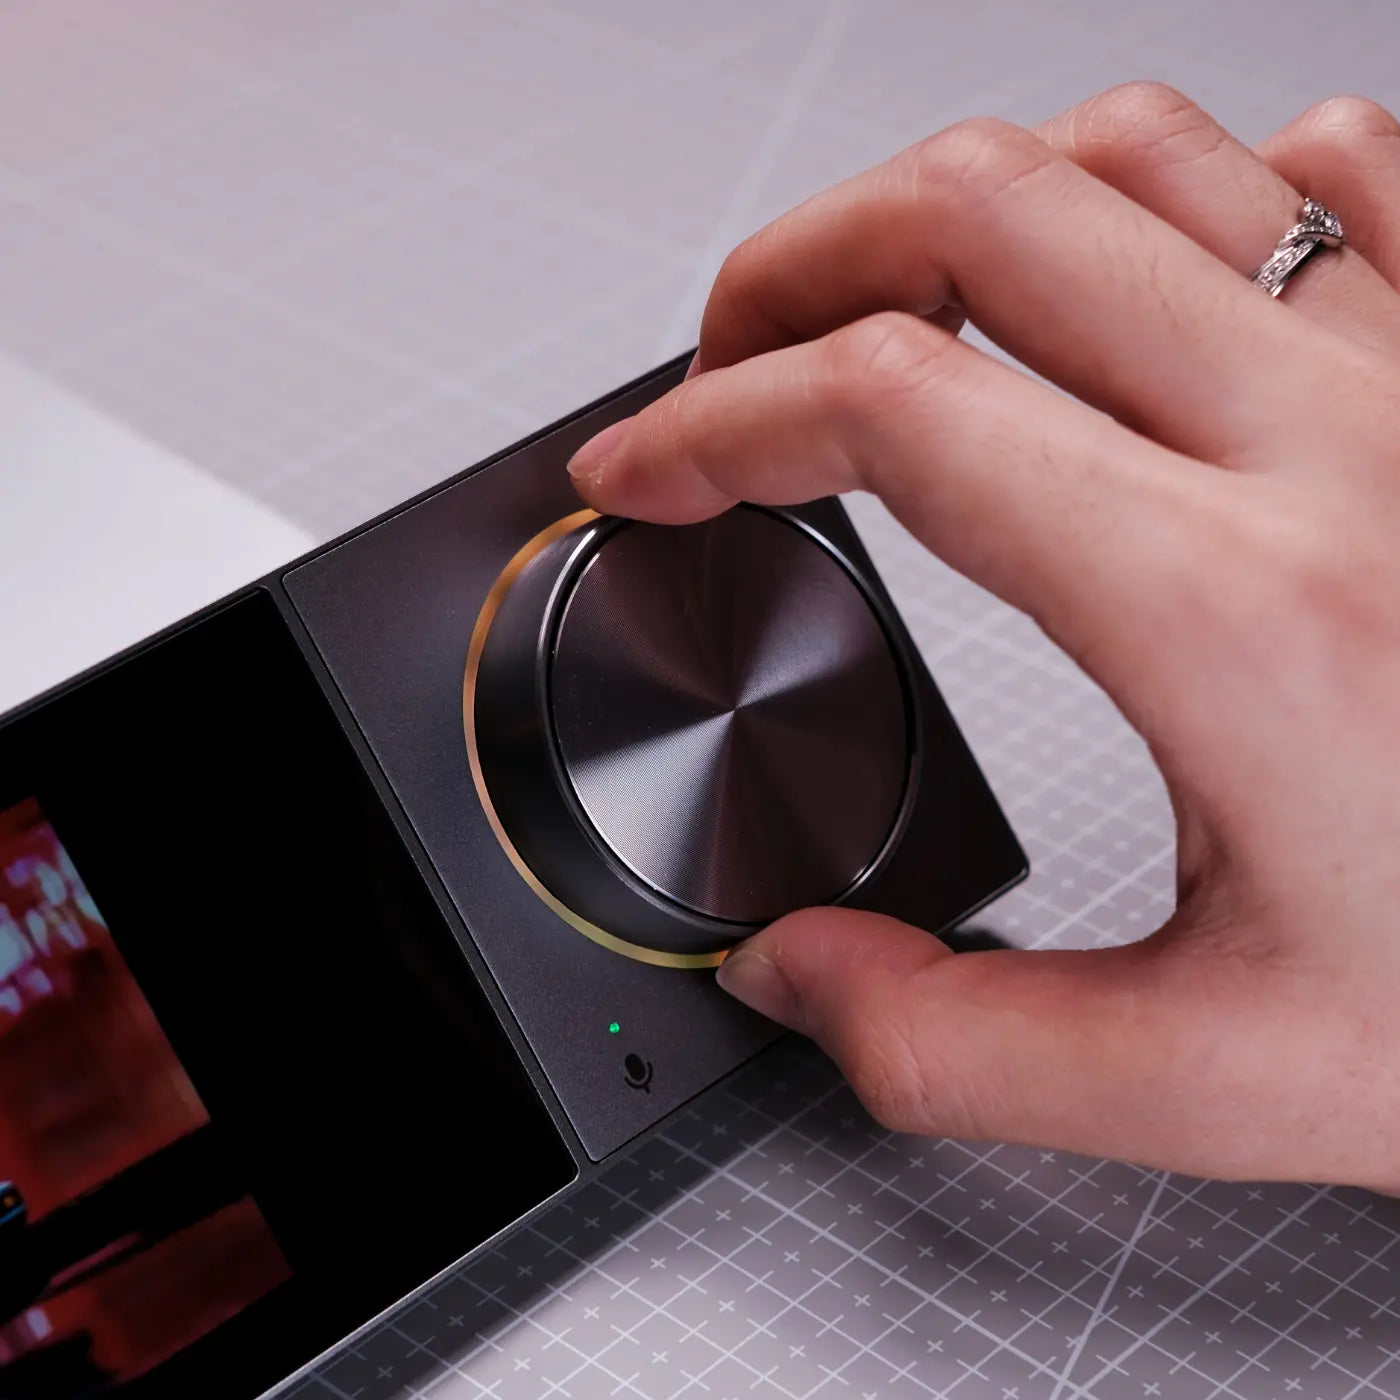
Just twist to choose your mode, press and speak. Quake listens, understands, and acts. It runs OpenClaw, an open-source AI engine, and works on Windows, macOS, and Linux. No cloud subscription required. No browser tabs. No friction. Just you, a knob, and AI that feels natural.
30-Day Money-Back Guarantee
At DECOKEE, we are committed to delivering high-quality and reliable products. If you experience any issues with your Quake, please contact our Customer Support Team at support@decokee.com for assistance.
We offer a 30-day return policy from the date of delivery, allowing you to return your order for a full refund under the following conditions:
- The product is unused, unboxed, and in original condition.
- All original packaging, accessories, manuals, and documentation must be included.
- The return request must be made within 30 days from the date of delivery (based on tracking information).
- Damage from outside sources
- Products without sufficient proof of purchase
- Lost or stolen products
- Non quality-related issues
- Free products / Free gifts / Discounted products
- Repairs through 3rd parties / Purchases from unauthorized resellers
- Damage from misuse (falls, extreme temperatures, water, improper operation)
- Products returned without complete original packaging
Return & Exchange Requirements: You need to provide photos and a video of the product for return or exchange. After our review, we will assist you with the process.
Shipping Costs:
- If the return is due to quality issues (within one month) or incorrect items sent, DECOKEE covers the return shipping fee.
- If the return is due to personal reasons (change of mind, incorrect purchase), the customer is responsible for the return shipping fee.
How to Initiate a Return:
- Email support@decokee.com with your order number, proof of purchase, and photos/videos of the issue.
- Our team will review and provide a return authorization and shipping address.
- The return must be shipped within 7 days of approval — otherwise the request may be voided.
1-Year Warranty Coverage
Return & Exchange Process
To initiate a return or exchange, please follow these steps:
1) Contact DECOKEE Support
Email support@decokee.com with your order details, including:
- Order number / Proof of purchase
- Photos or videos showing the issue (if applicable)
- Complete shipping address & contact number
2) Receive Confirmation & Return Address
Our support team will review your request and provide a return authorization and the appropriate return address.
The return must be shipped within 7 days of approval. Otherwise, your request may be voided.
3) Ship the Product & Provide Tracking
Customers must provide the valid tracking number and shipping receipt within 7 days of receiving the return approval. Please ensure proper packaging to prevent damage in transit.
4) Inspection & Refund Processing
Upon receiving the returned item, our team will inspect it. If it meets our return conditions, a refund will be issued.
Refunds are processed within 10 business days to the original payment method (PayPal, credit card, etc.).
- Returns without prior approval will not be accepted.
- Shipping and handling fees are non-refundable.
- If the product is returned in a damaged or incomplete condition, DECOKEE reserves the right to refuse a refund or deduct a restocking fee.
Warranty Policy
DECOKEE provides a limited warranty for its products, covering manufacturing defects and quality issues within the specified period.
- Quake Desktop AI Assistant: 12 months
- DK-HUB / DK-HUB2: 12 months
- DK-STATION / DK-STATION LITE: 12 months
- Cables & Accessories: 6 months
- Warranty does not cover damages caused by misuse, accidents, unauthorized modifications, or external factors (e.g., water damage, extreme temperatures).
- Warranty claims require a valid proof of purchase.
If your product is defective within the warranty period, please contact support@decokee.com with:
- Your order number and purchase proof.
- A photo or video showing the issue.
- Your shipping address and contact details.
DECOKEE will either repair, replace, or provide an appropriate solution based on the warranty terms.
Replacement & Reissue Policy
If a product fails within the warranty period, we will replace it. In cases where returning the defective item is not feasible, we offer direct replacement with a nominal shipping fee as follows:
- Quake, DK-HUB, DK-HUB2, DK-STATION, DK-STATION LITE: $30
- Cables & Accessories: $5
Contact support@decokee.com and provide order details & defect proof. If a return is required, ship the defective unit and provide the tracking number. Upon confirmation, we will arrange a replacement shipment.
If the product has a quality issue within one month of receipt, we will cover the return shipping cost.
Order Cancellation & Modifications
1) Before Shipment: If you need to cancel or modify your order, contact support@decokee.com as soon as possible. Changes can be made for free if the order has not been shipped.
2) After Shipment: Once the order has left the warehouse, it cannot be canceled or modified. If needed, you can initiate a return under our 30-day return policy after receiving the item.
Lifetime Customer Support
If you have a question or comment for us, please contact us by email and you will receive support and a response within 48 hours on business days.
Support Email: support@decokee.com
💬 Join our Discord for faster support:
discord.com/invite/DsbznVyWwj
Pairs well with
DECOKEE Quake Desktop AI Assistant
If you have any questions, you are always welcome to contact us. We'll get back to you as soon as possible, within 24 hours on weekdays.
-
Shipping Information
Use this text to answer questions in as much detail as possible for your customers.
-
Customer Support
Use this text to answer questions in as much detail as possible for your customers.
-
FAQ’s
Use this text to answer questions in as much detail as possible for your customers.
-
Contact Us
Use this text to answer questions in as much detail as possible for your customers.

Fully Funded on Kickstarter
What started as a crowdfunding campaign is now a product in the hands of real people. We've already delivered Quake to the majority of our backers — and we couldn't have done it without your trust. Thank you for helping us turn this vision into reality.
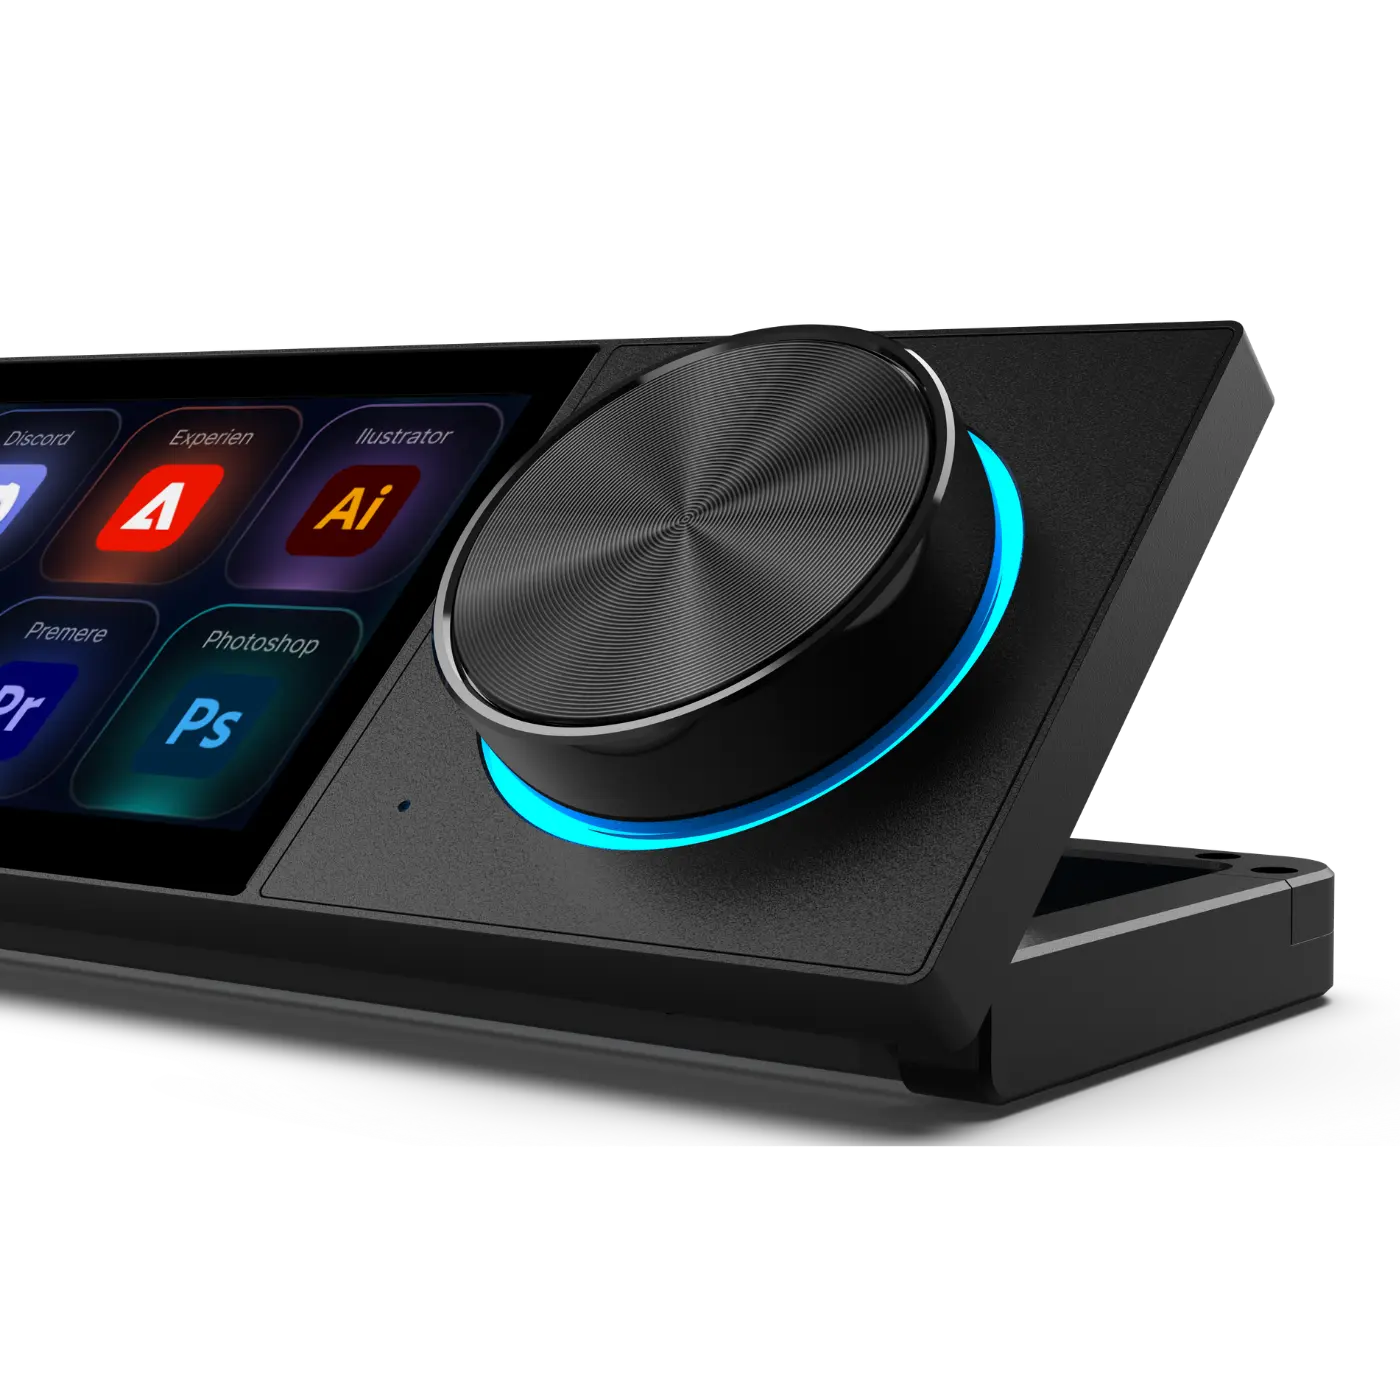
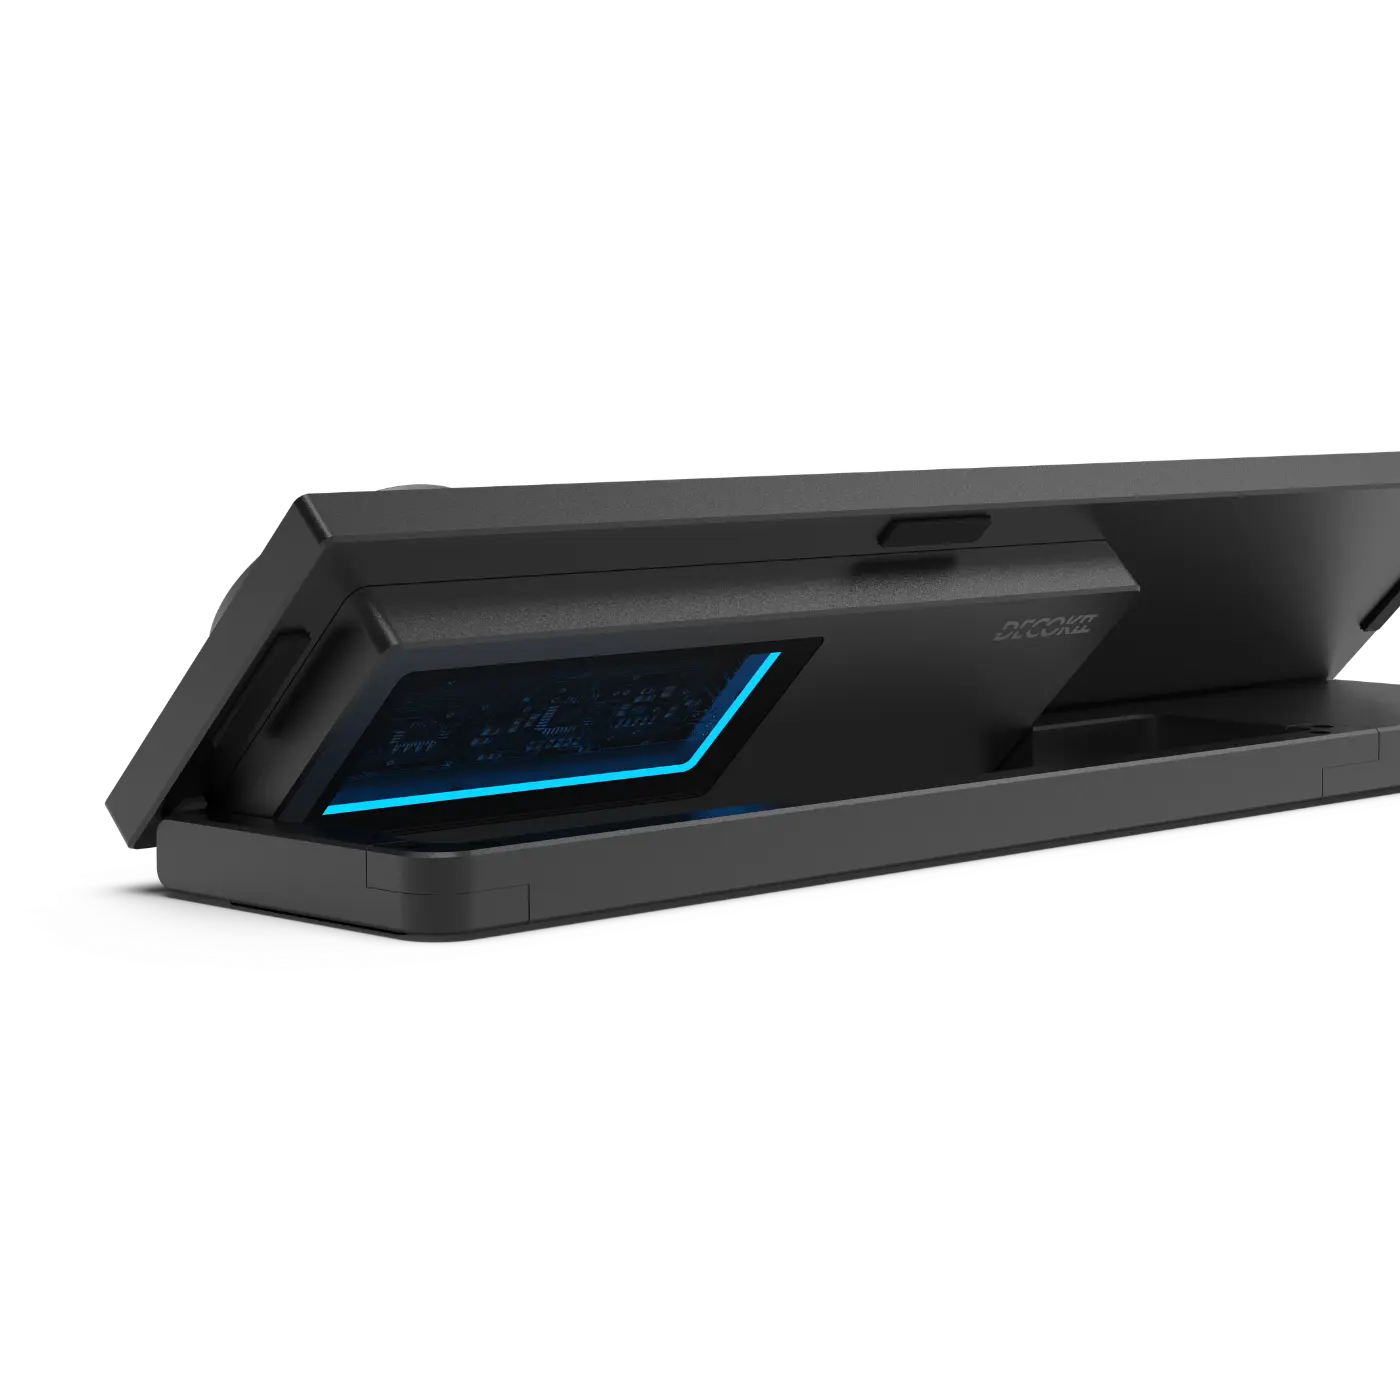
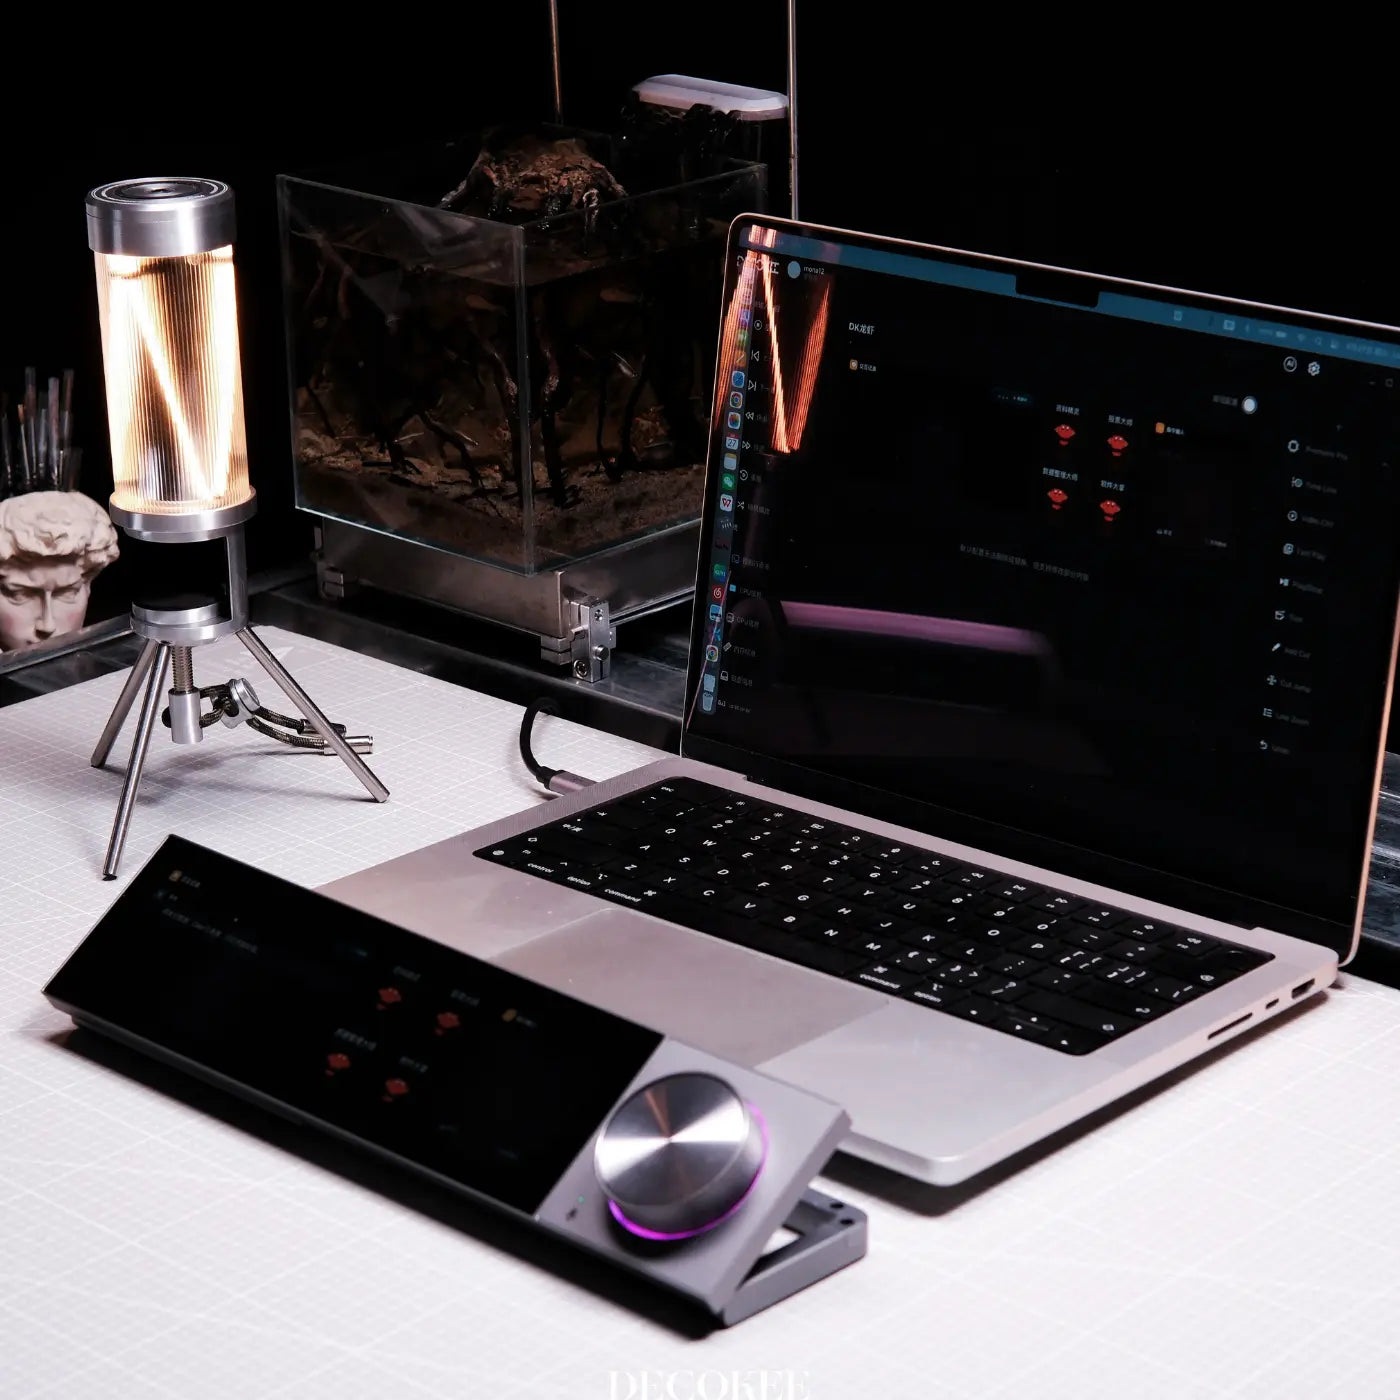
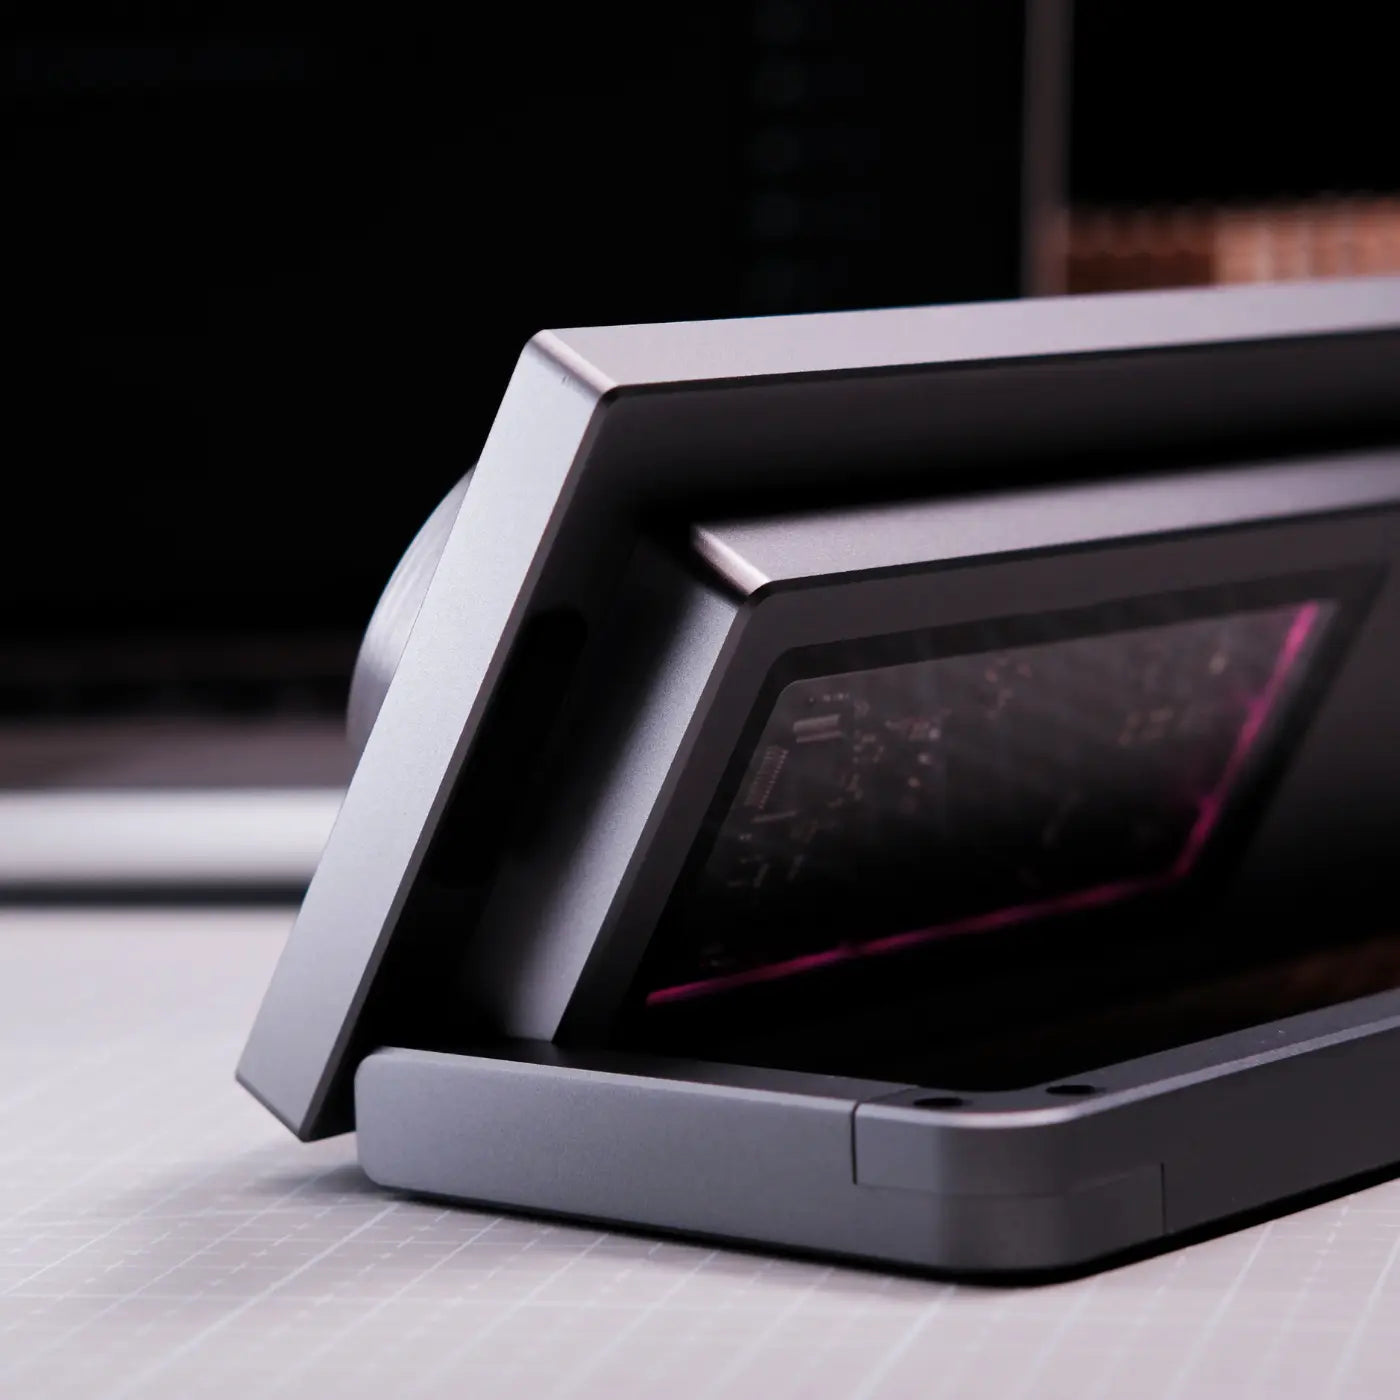
Premium Desktop Craftsmanship
- Full CNC anodized chassis0°–100°
- fully adjustable stand
- Controllable LED light ring
- DECOKEE exclusive transparent viewing window
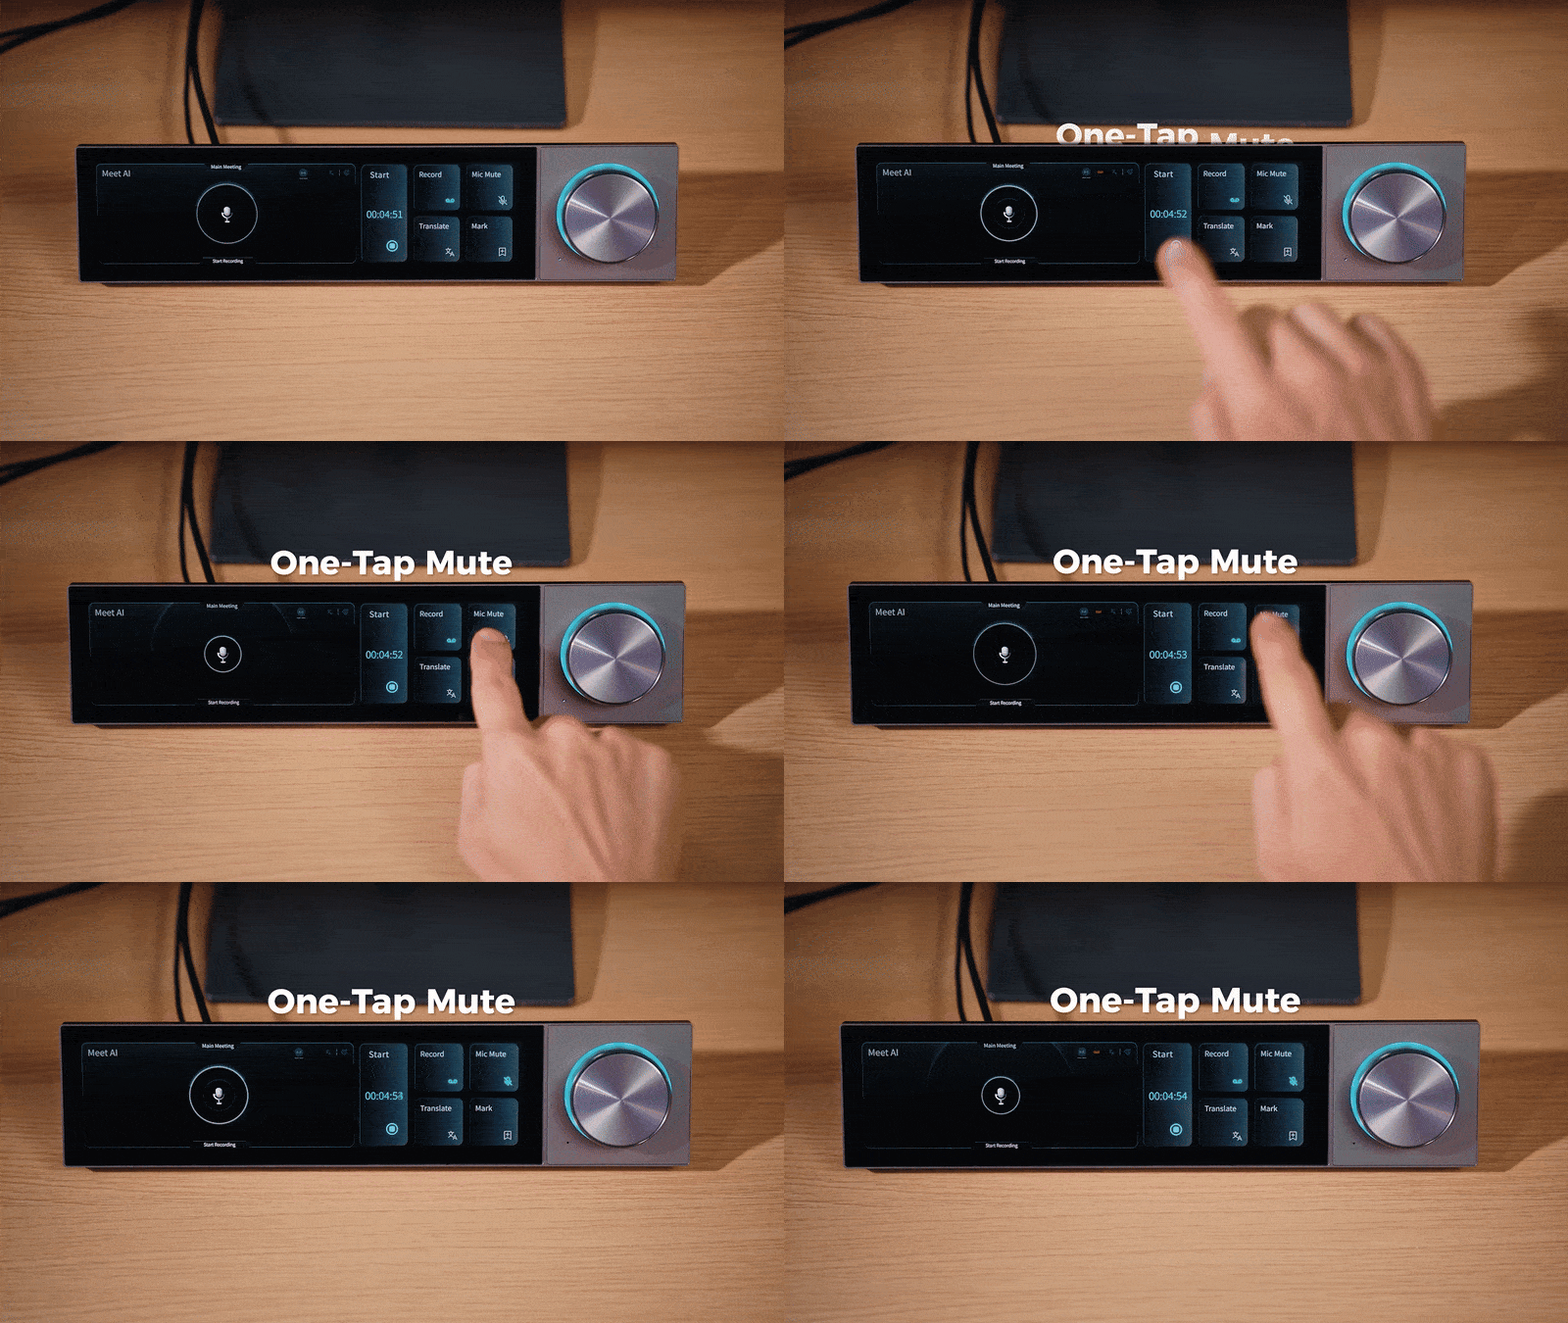
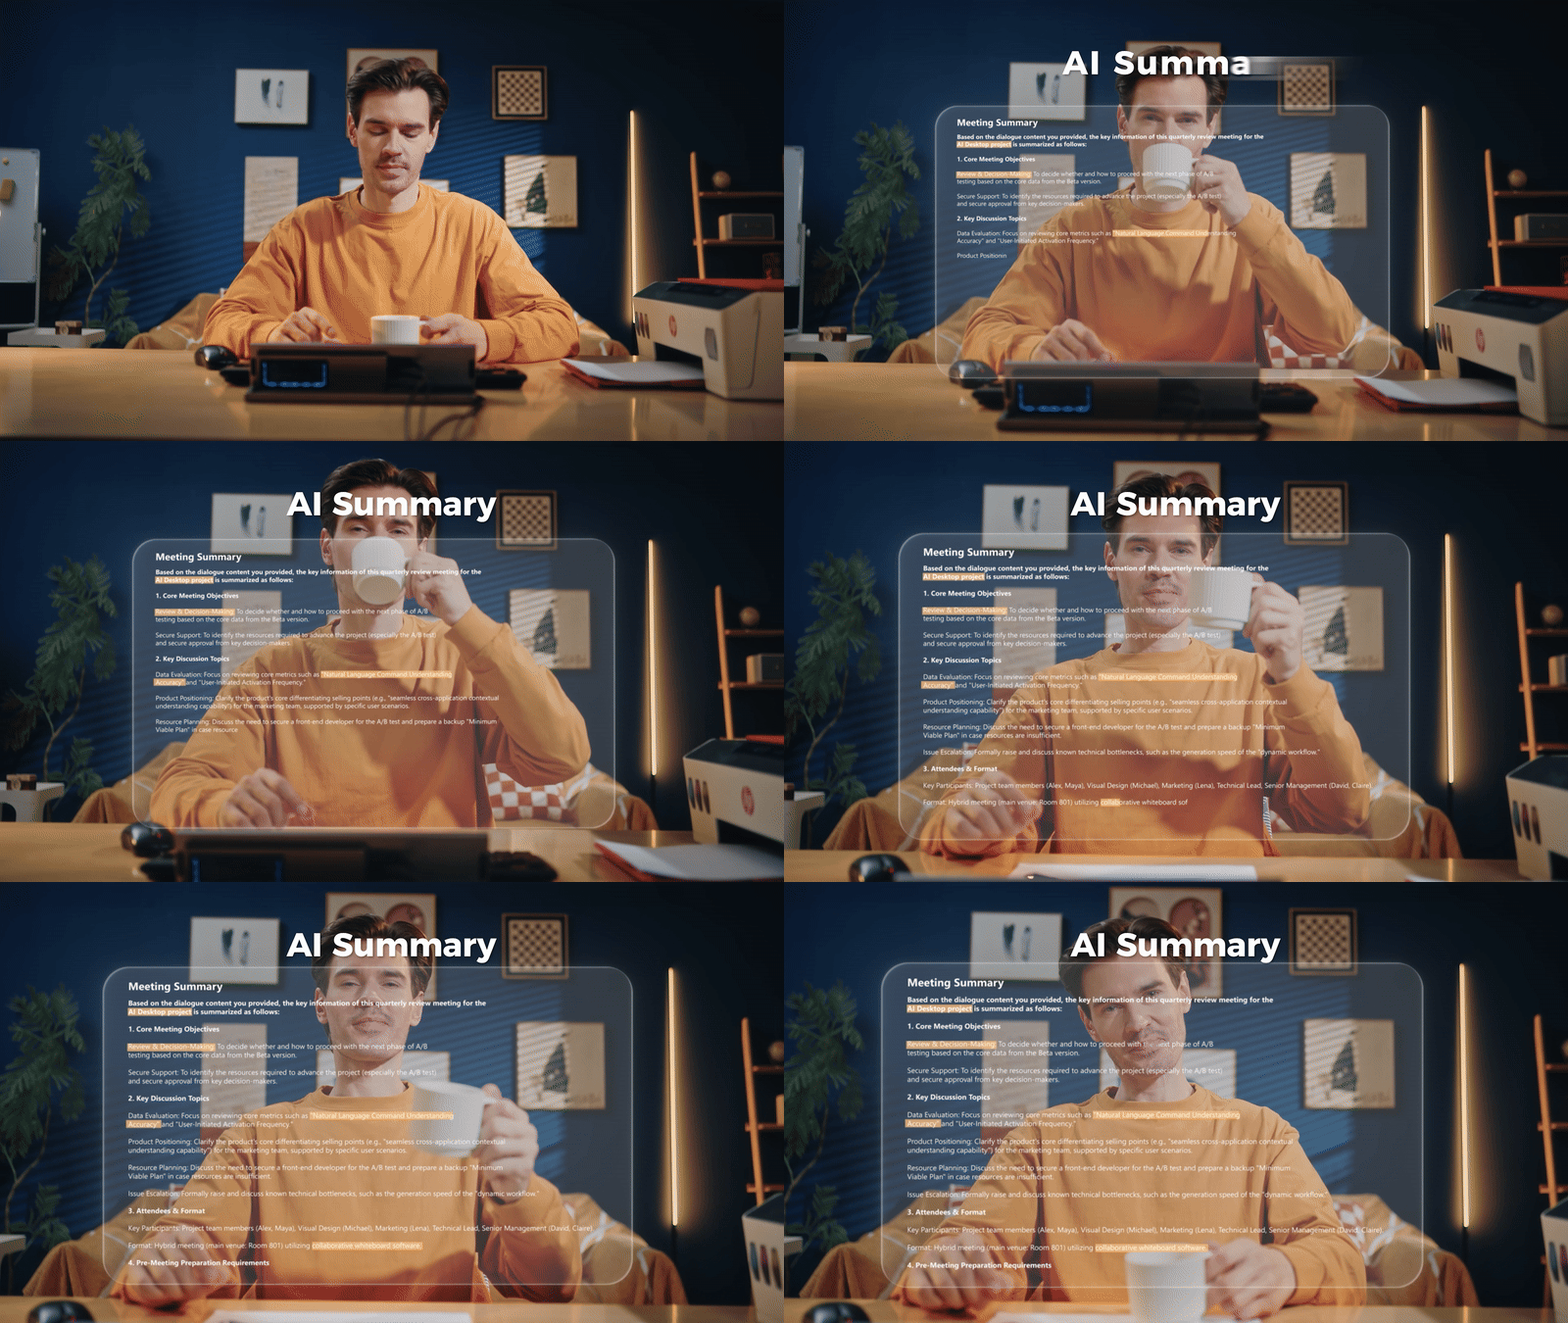
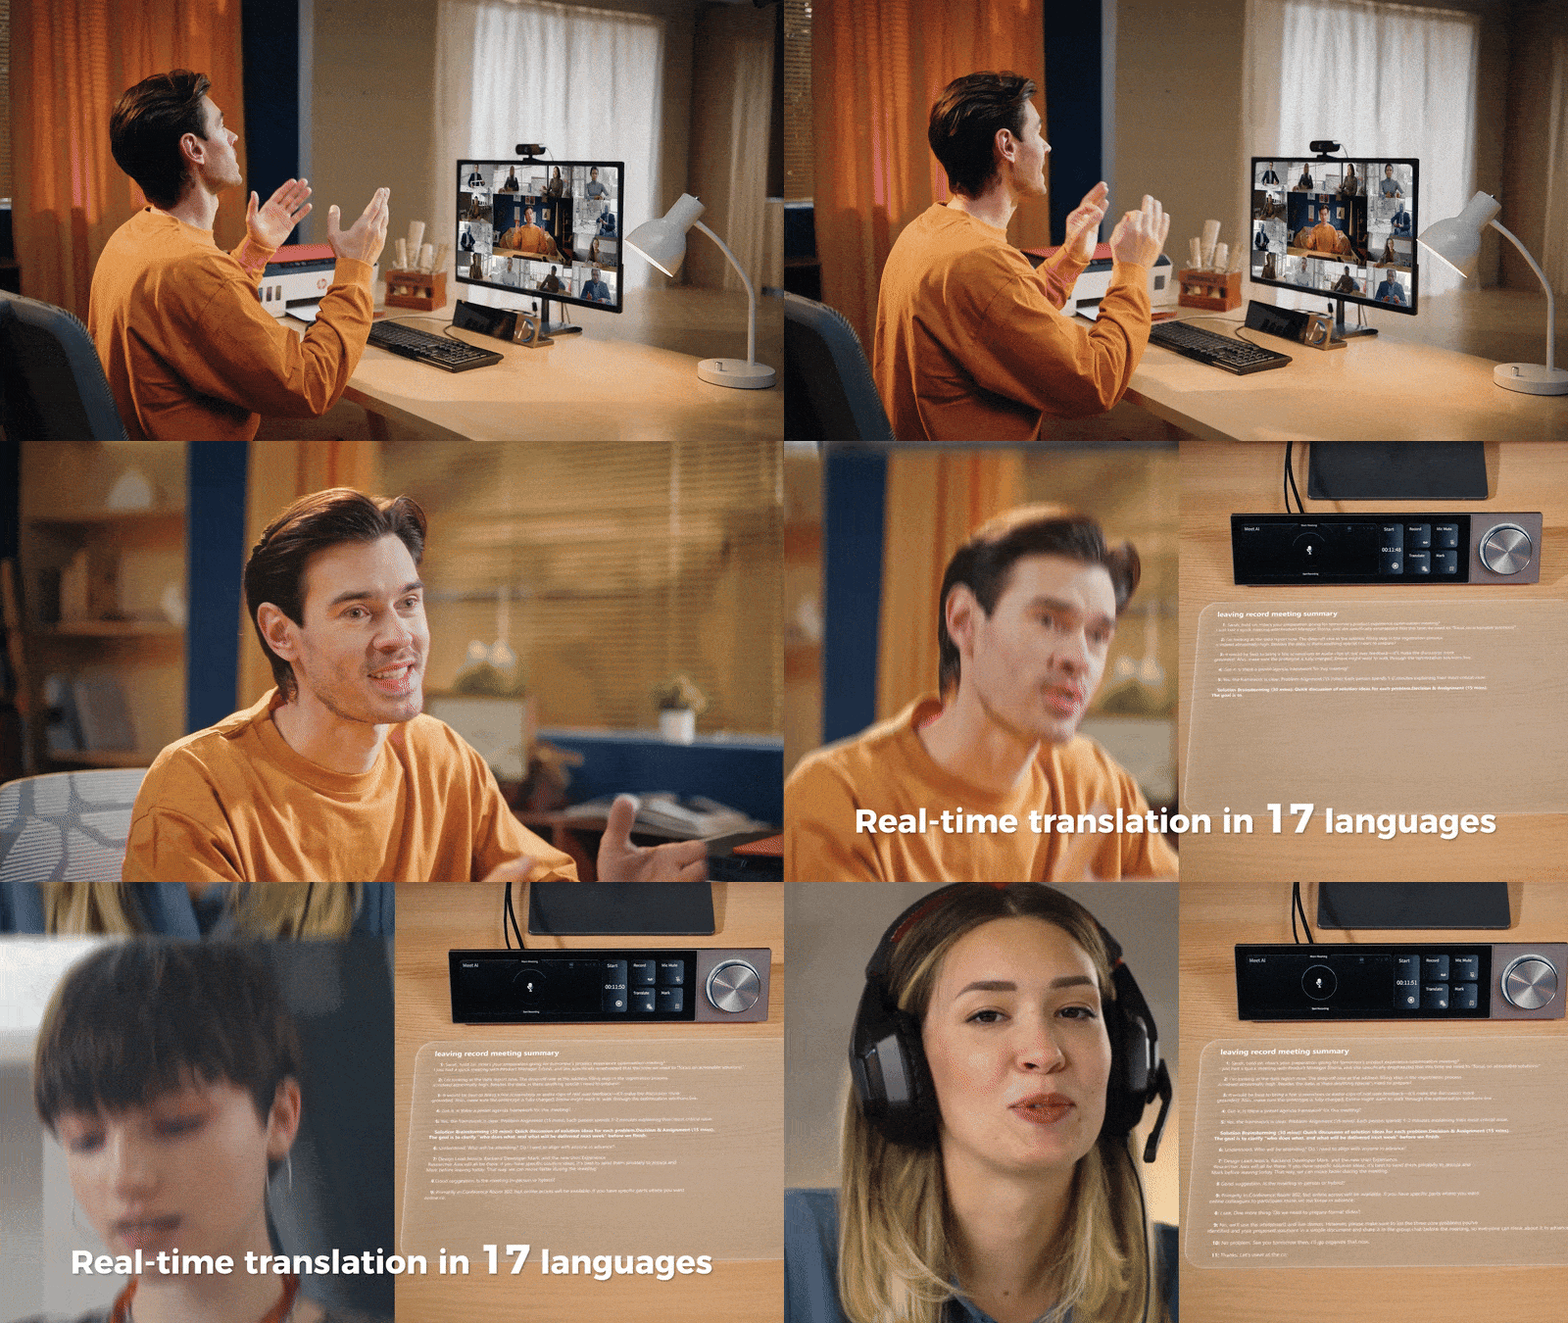
Al Meeting Assistant - Never Miss a Key Point
Your Meetings, Instantly Summarized.
Record. Transcribe. Summarize. Ship.

Customize Your Controls

Customizable shortcuts by Drag&Drop
Meet DK-Suite: Drag-and-drop fully customizable panels. Everything to tailor Quake to your workflow, unified in one intuitive interface.

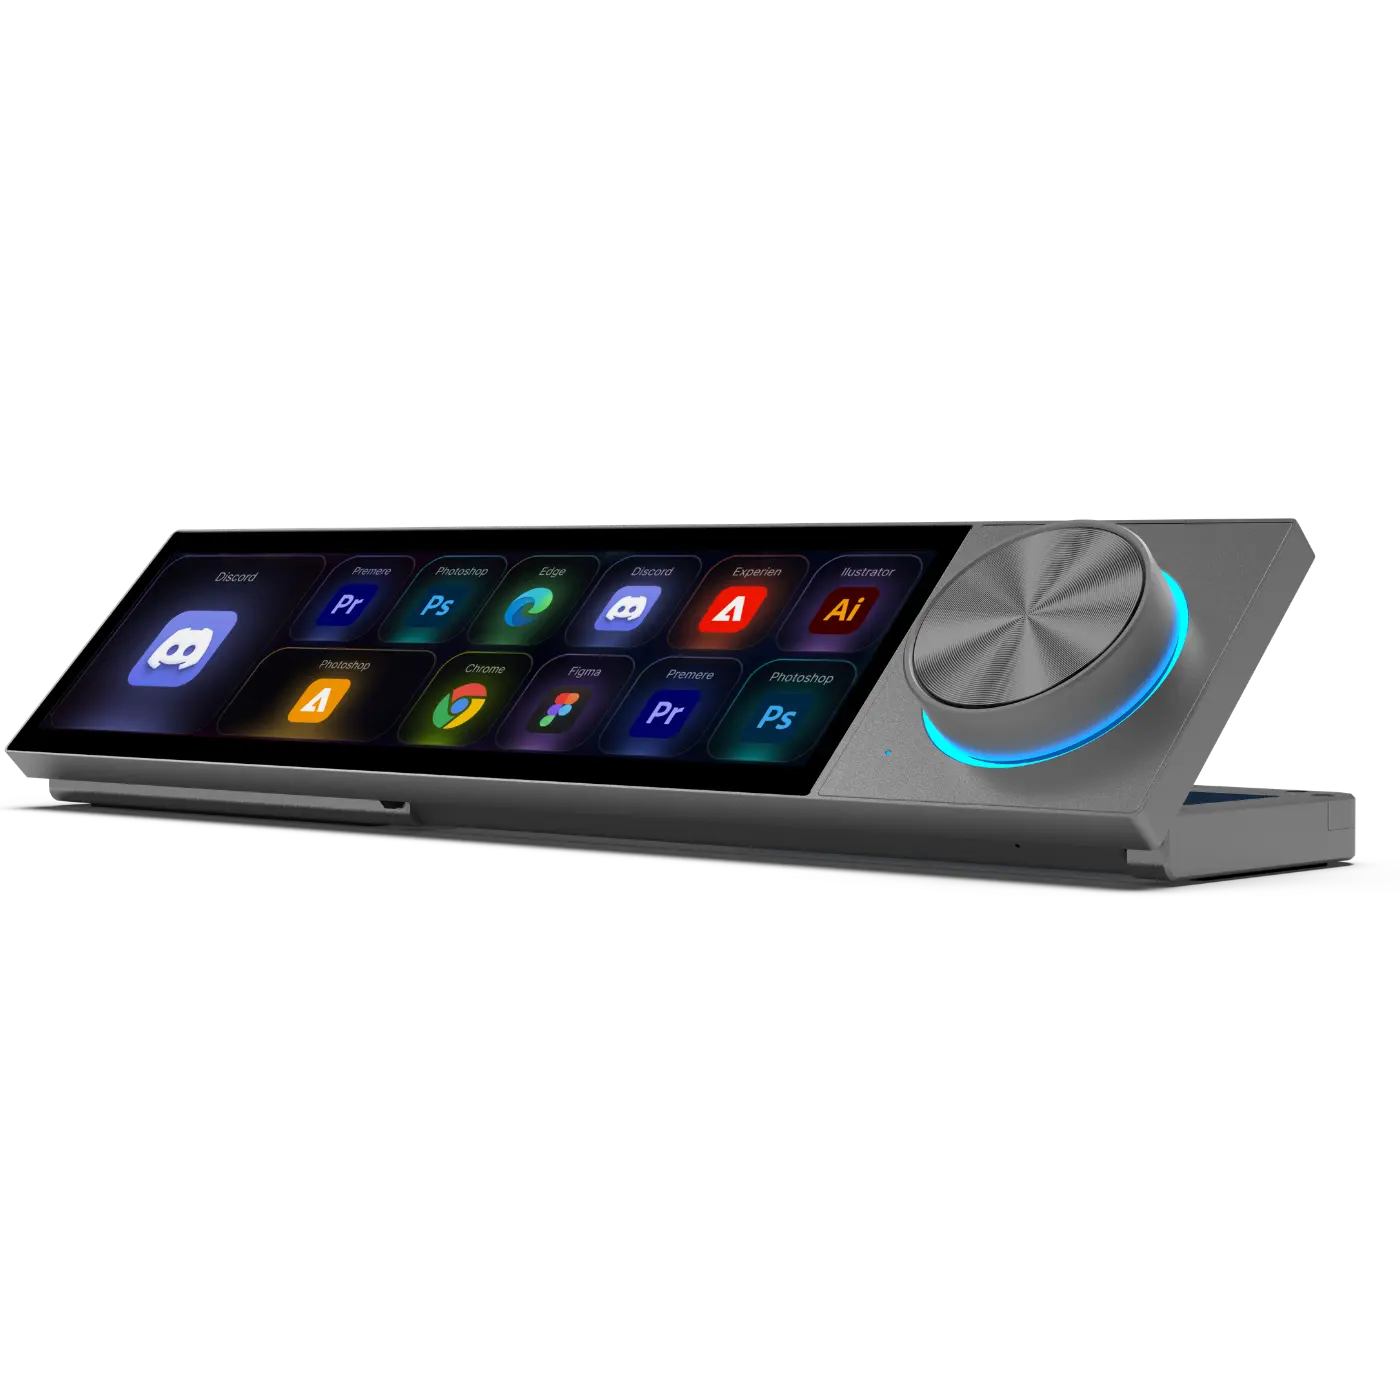
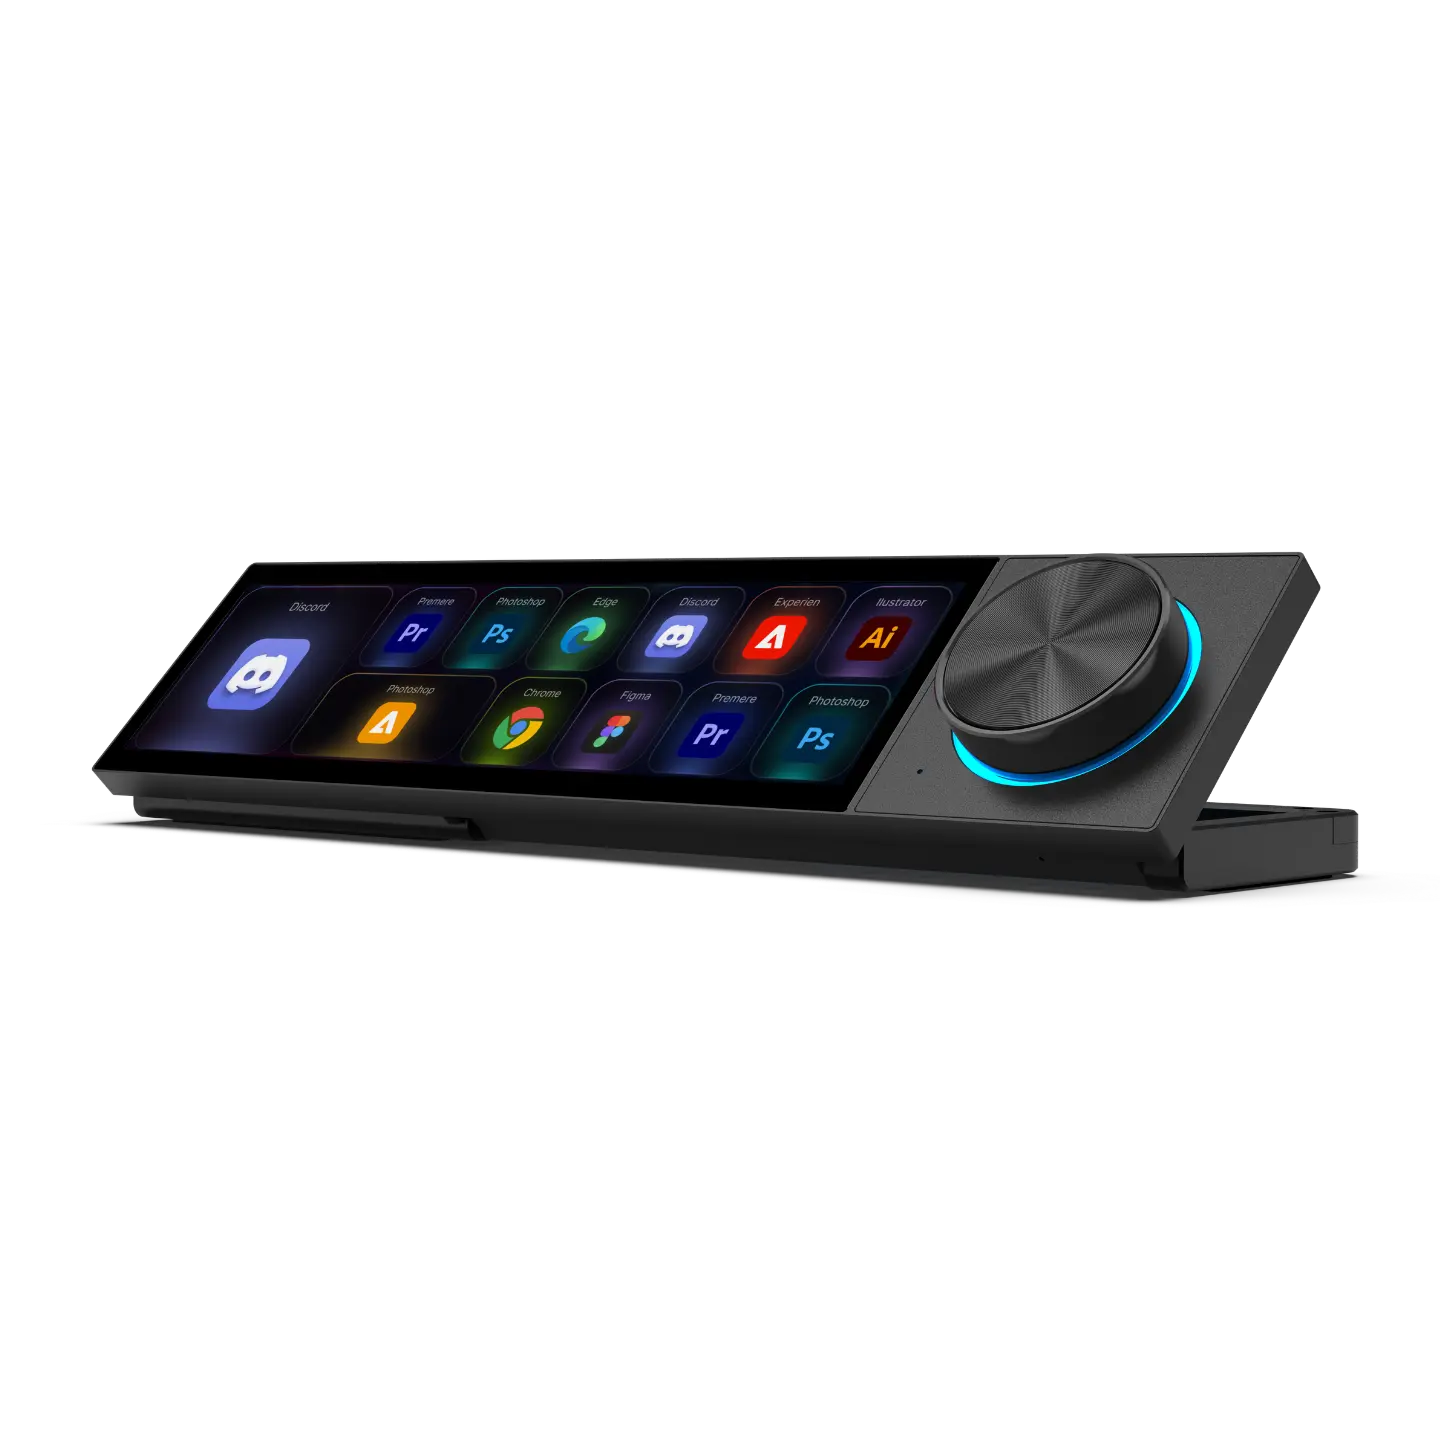
Preset Application Shortcuts
Preset app shortcuts let users launch common tools in one tap, skip cumbersome opening procedures and streamline daily work.
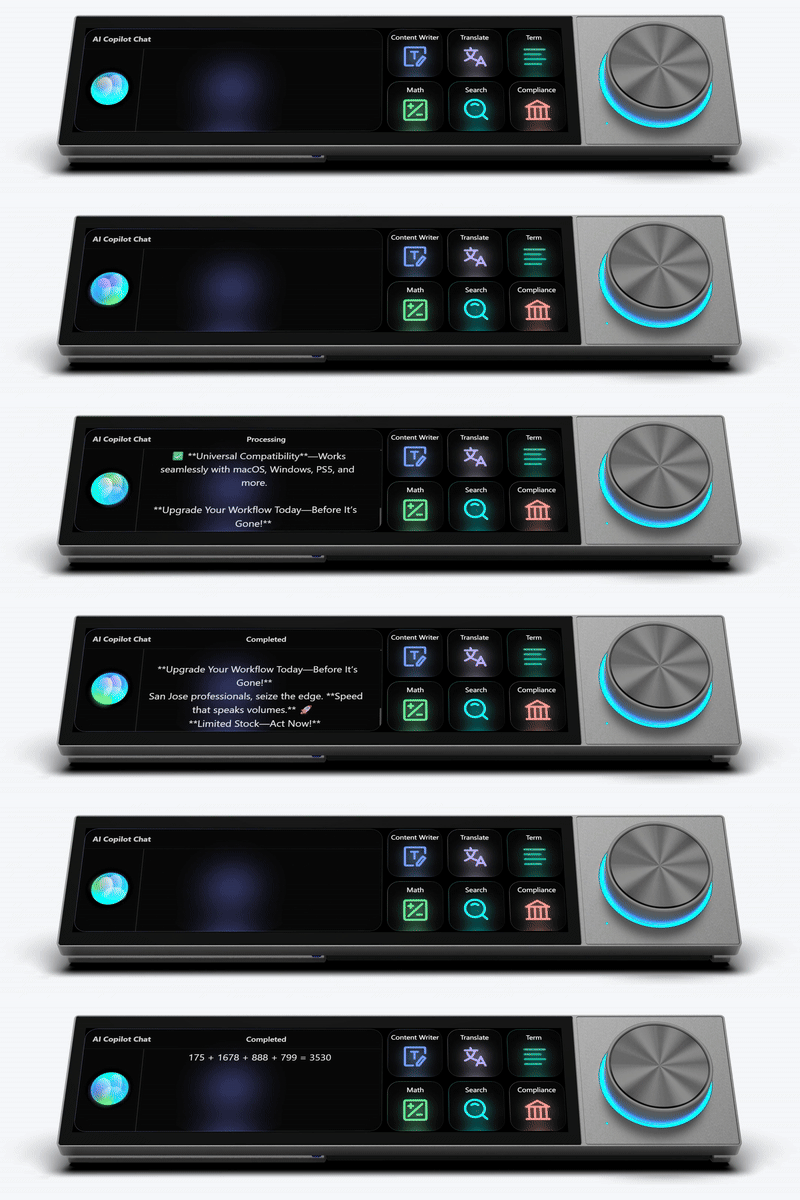
Instant Answers- No Prompting Required
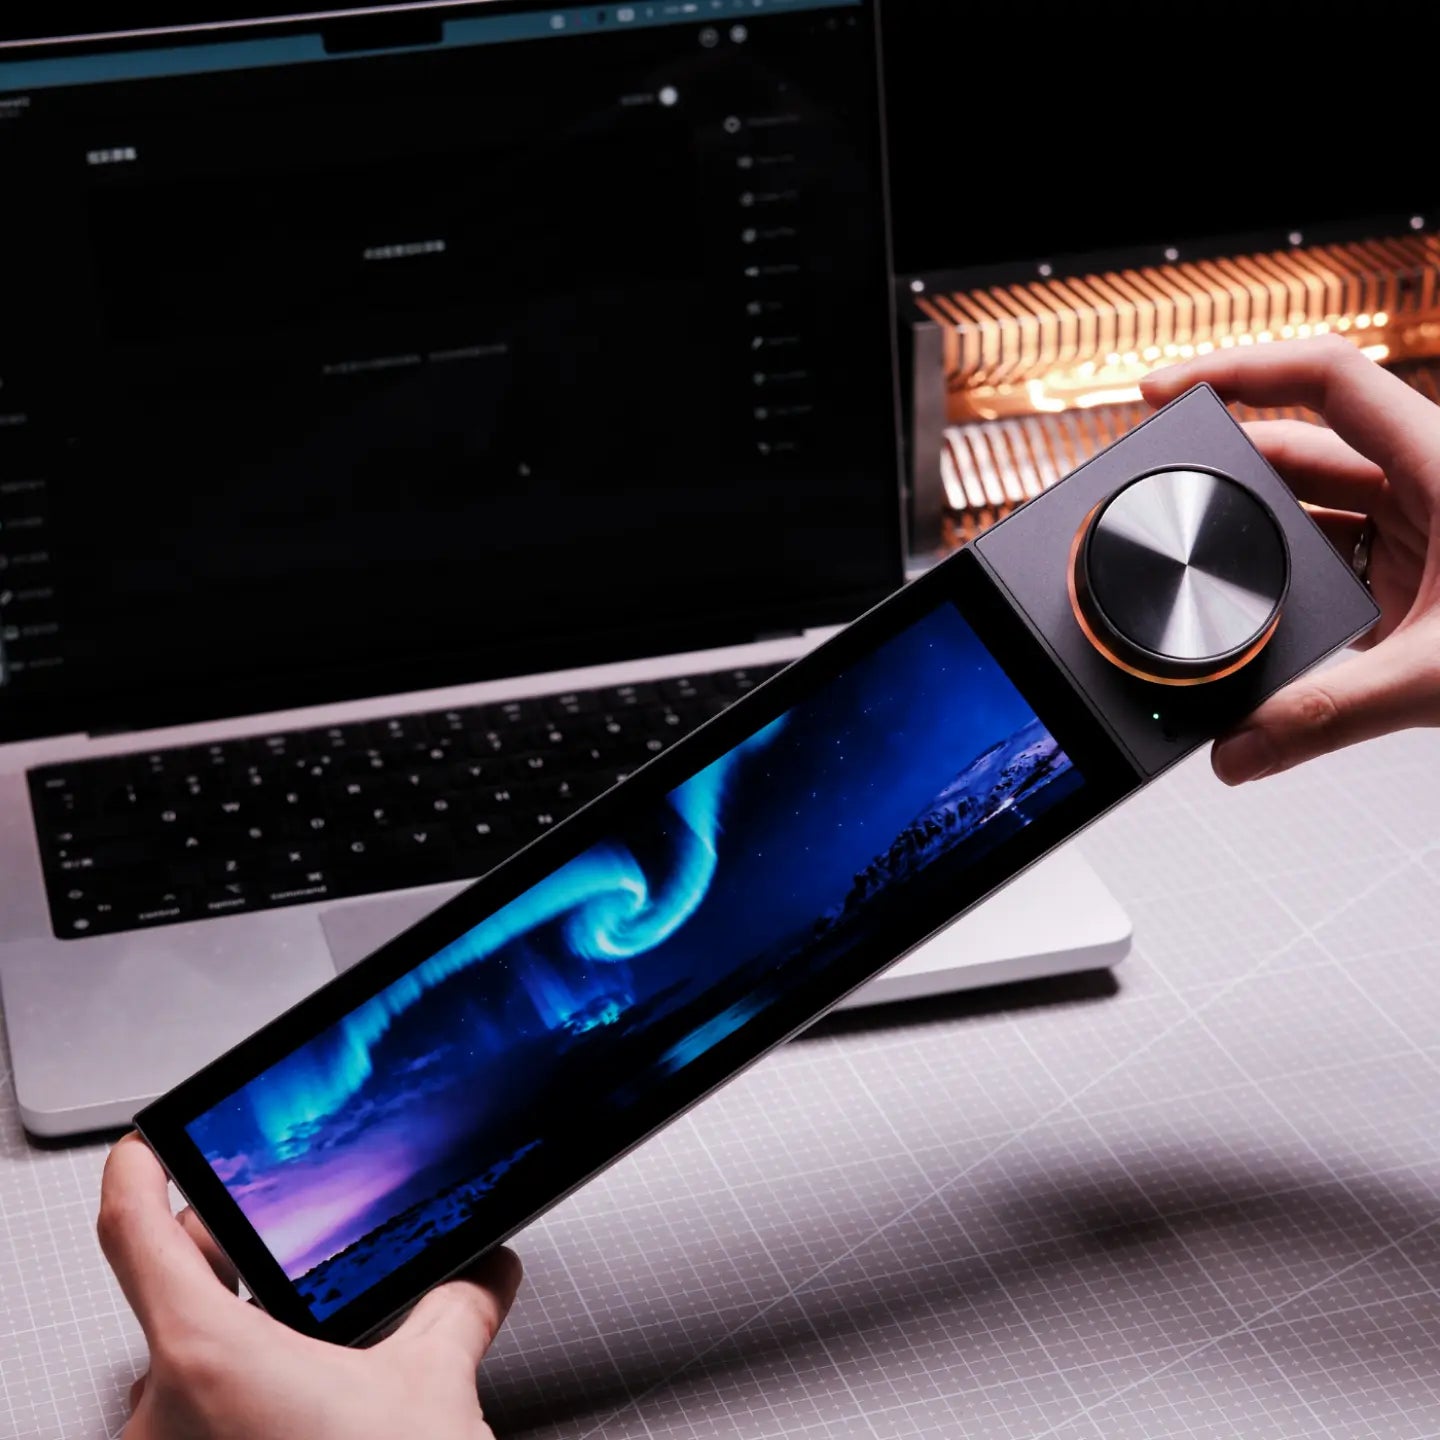
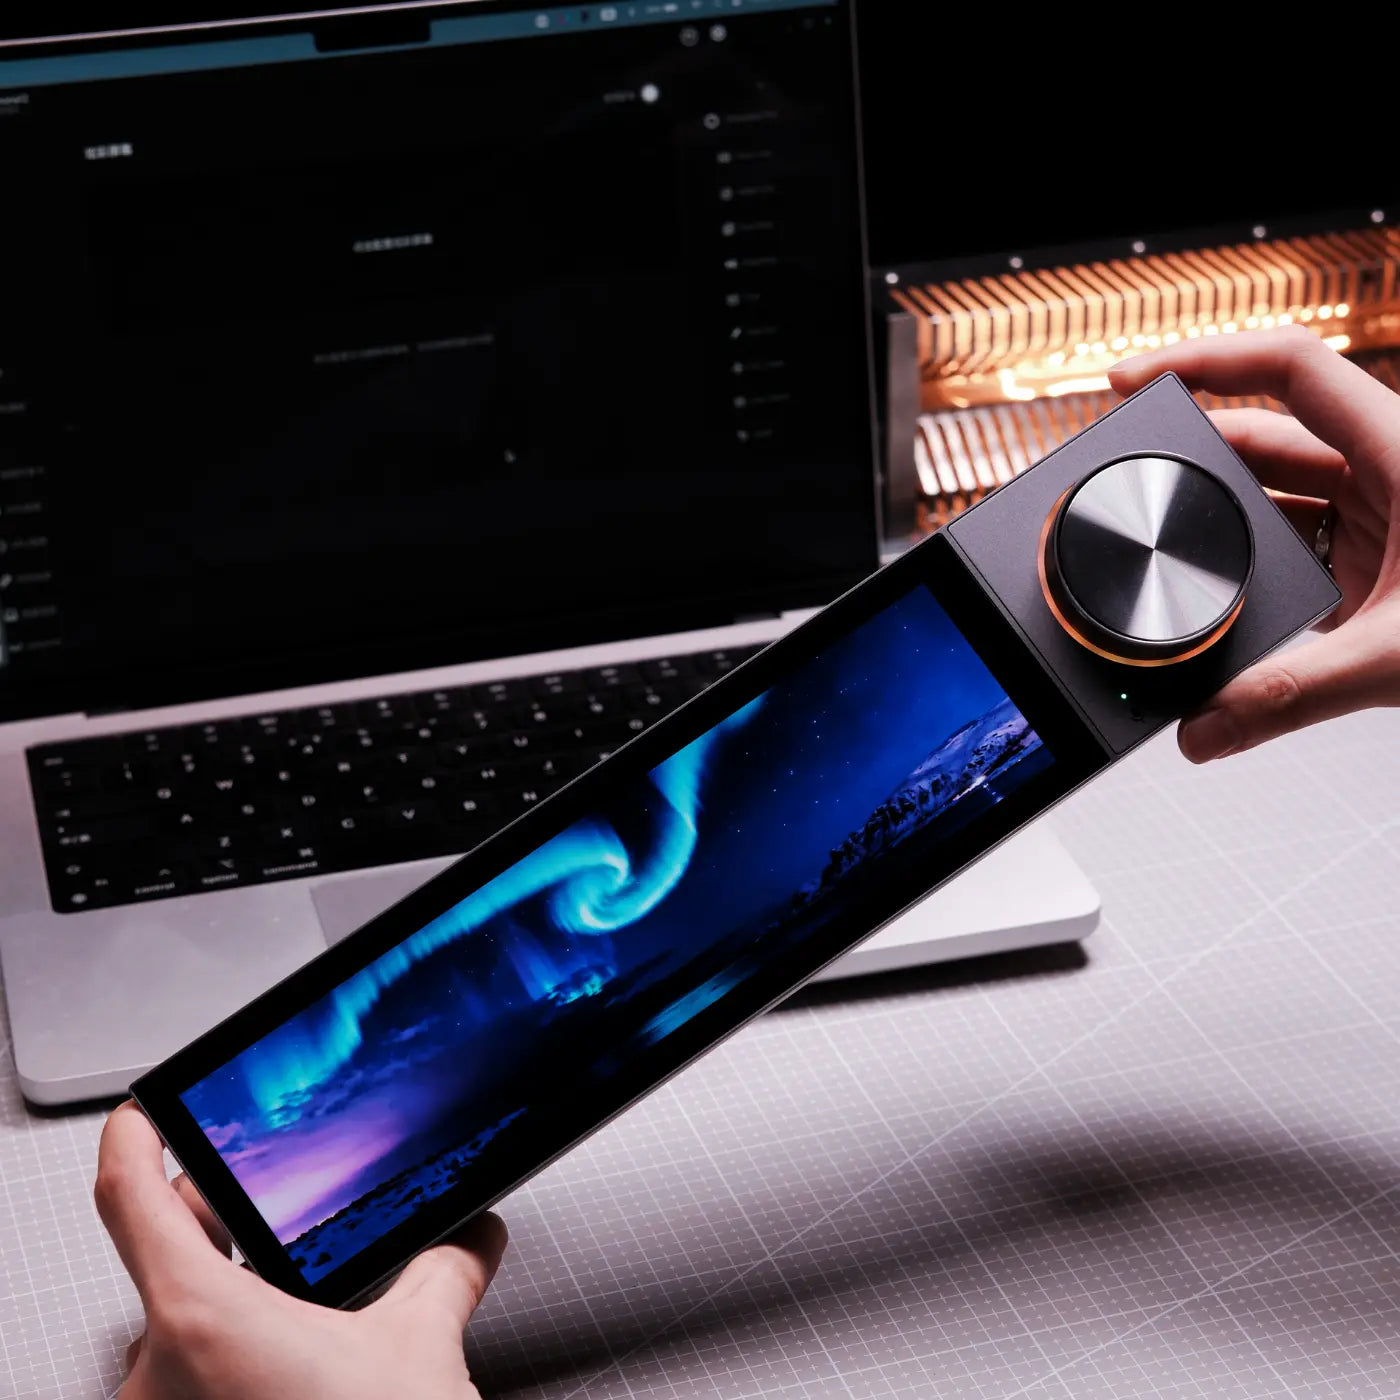
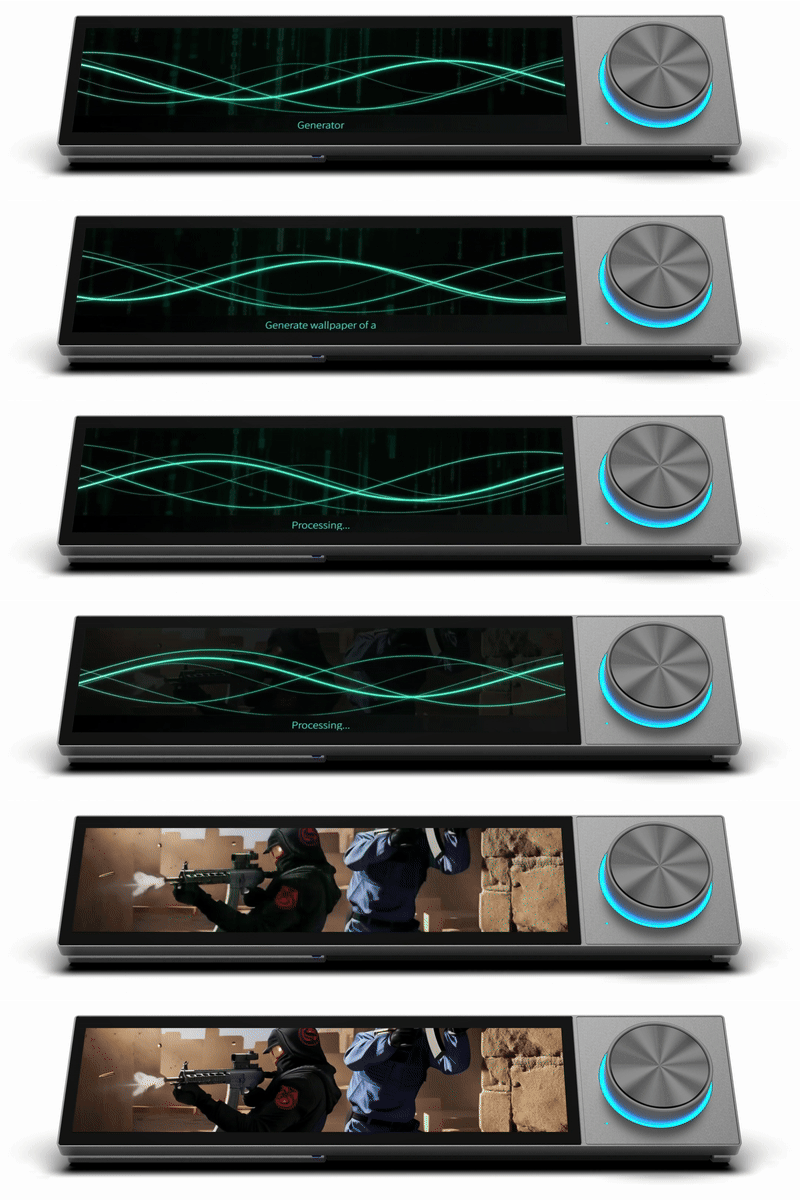
Wallpaper Generation by AI
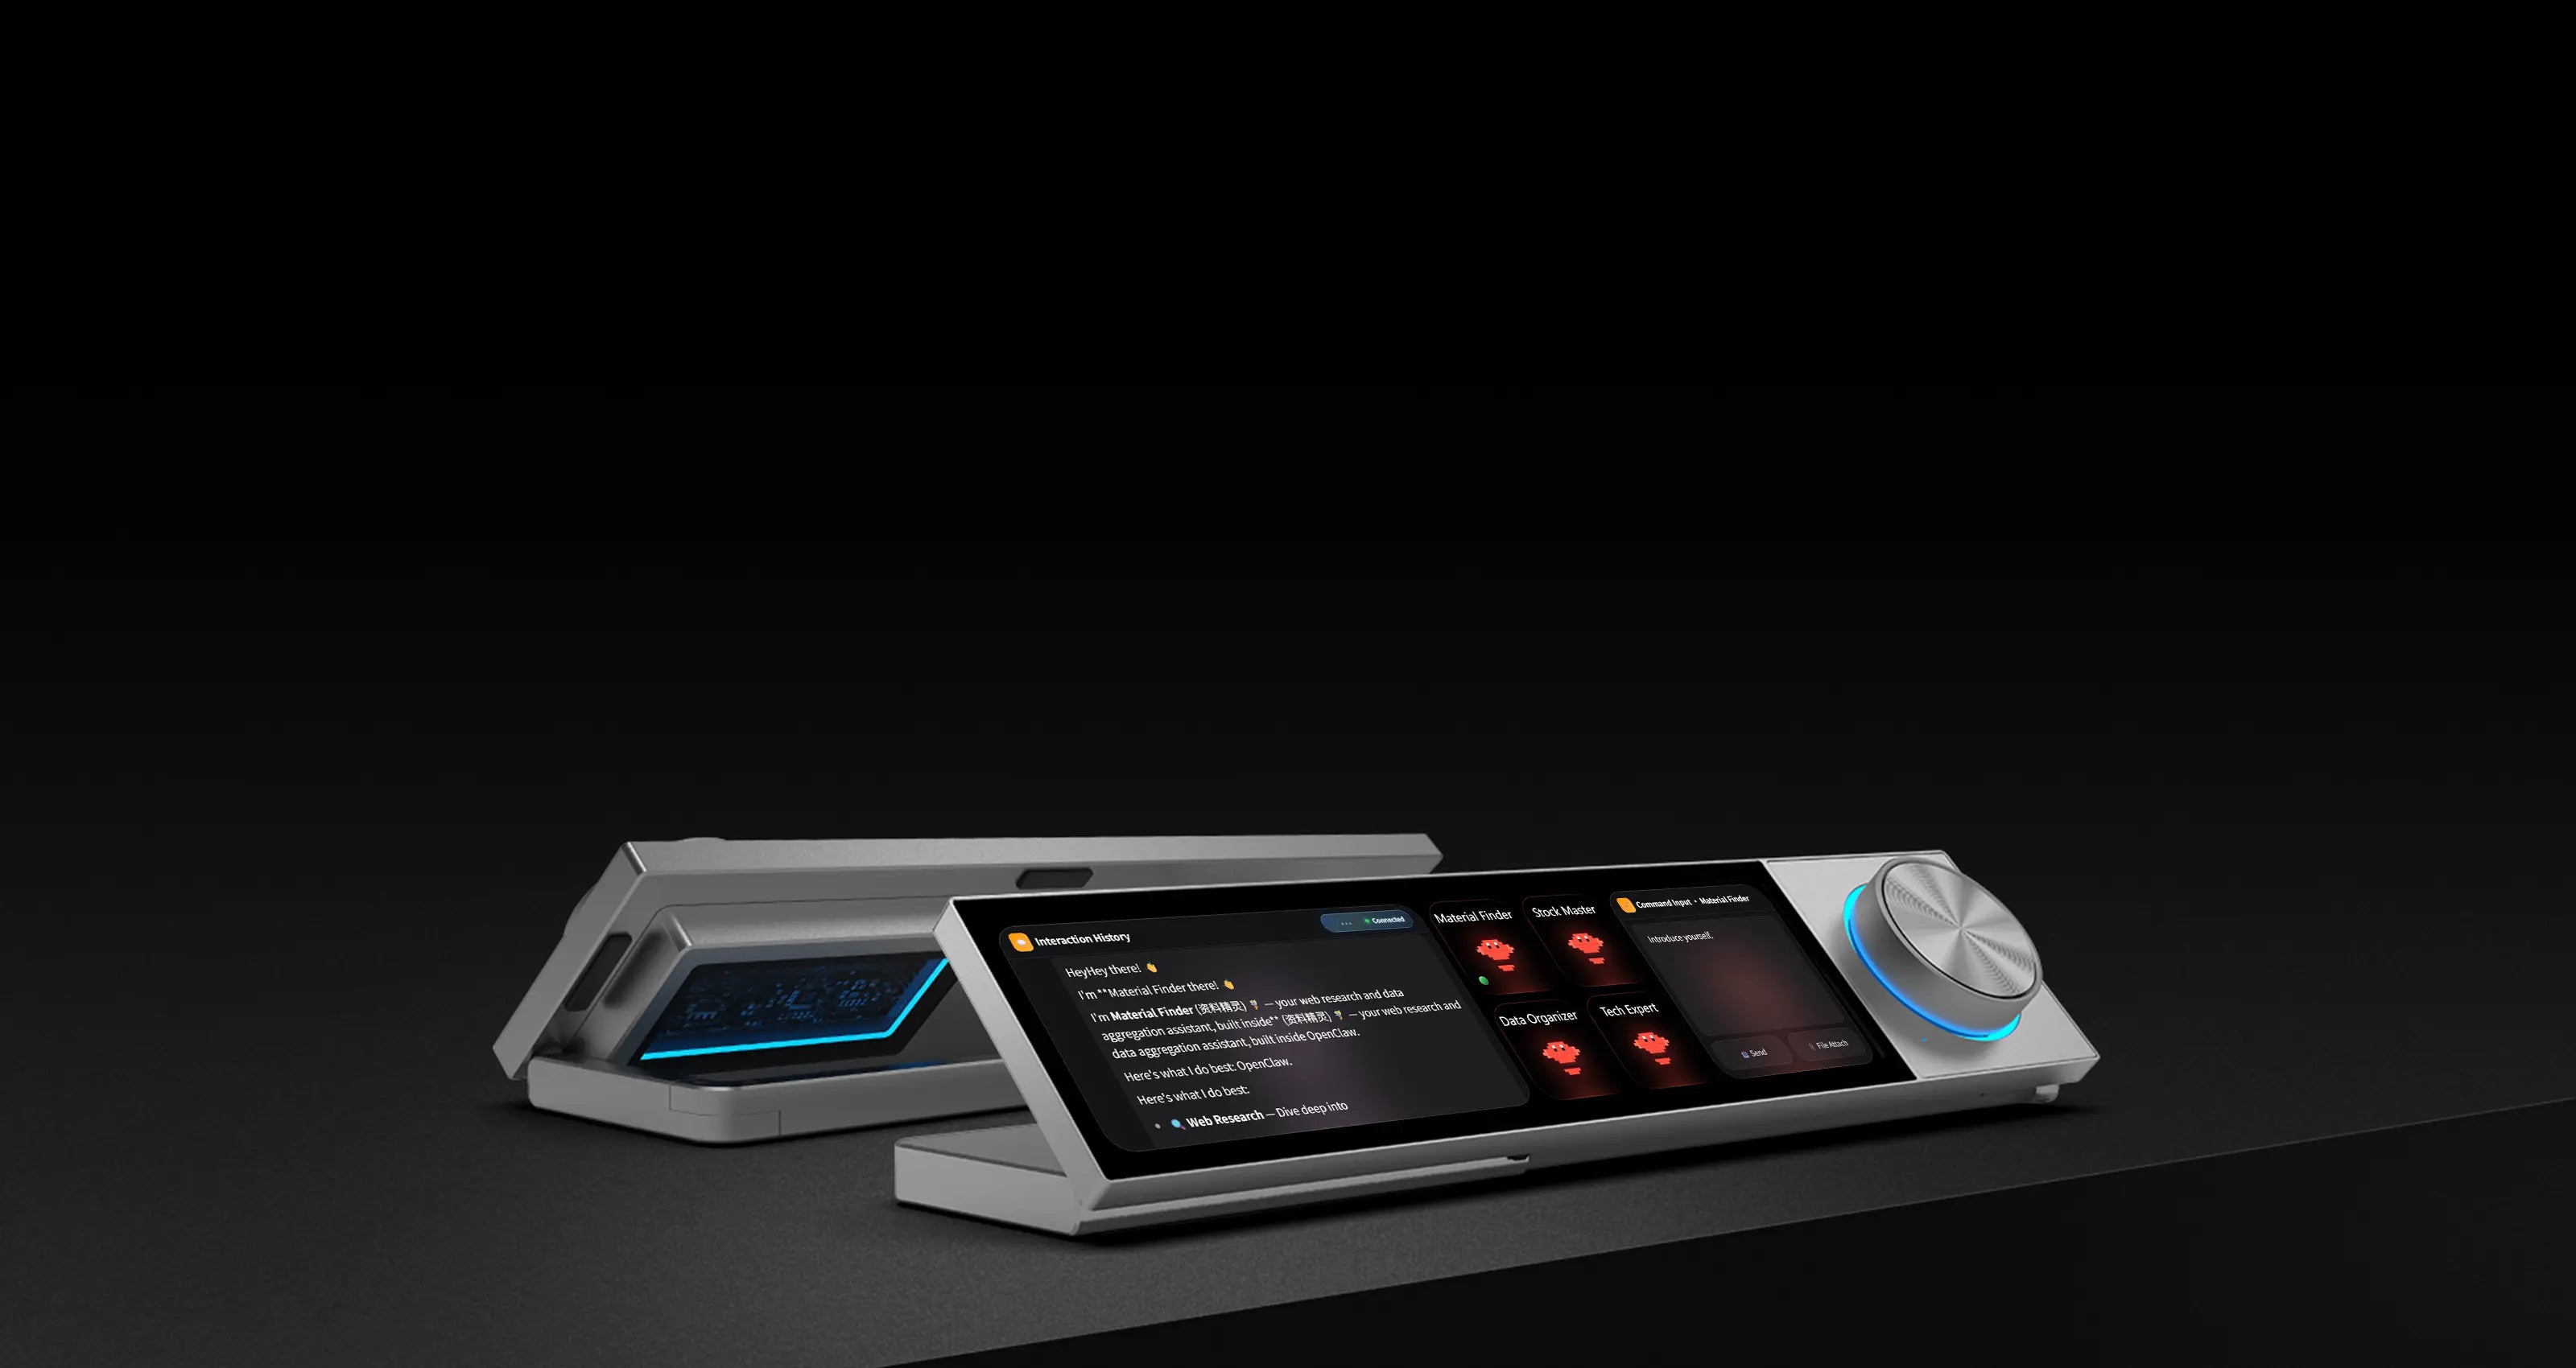
What else can Quake do?
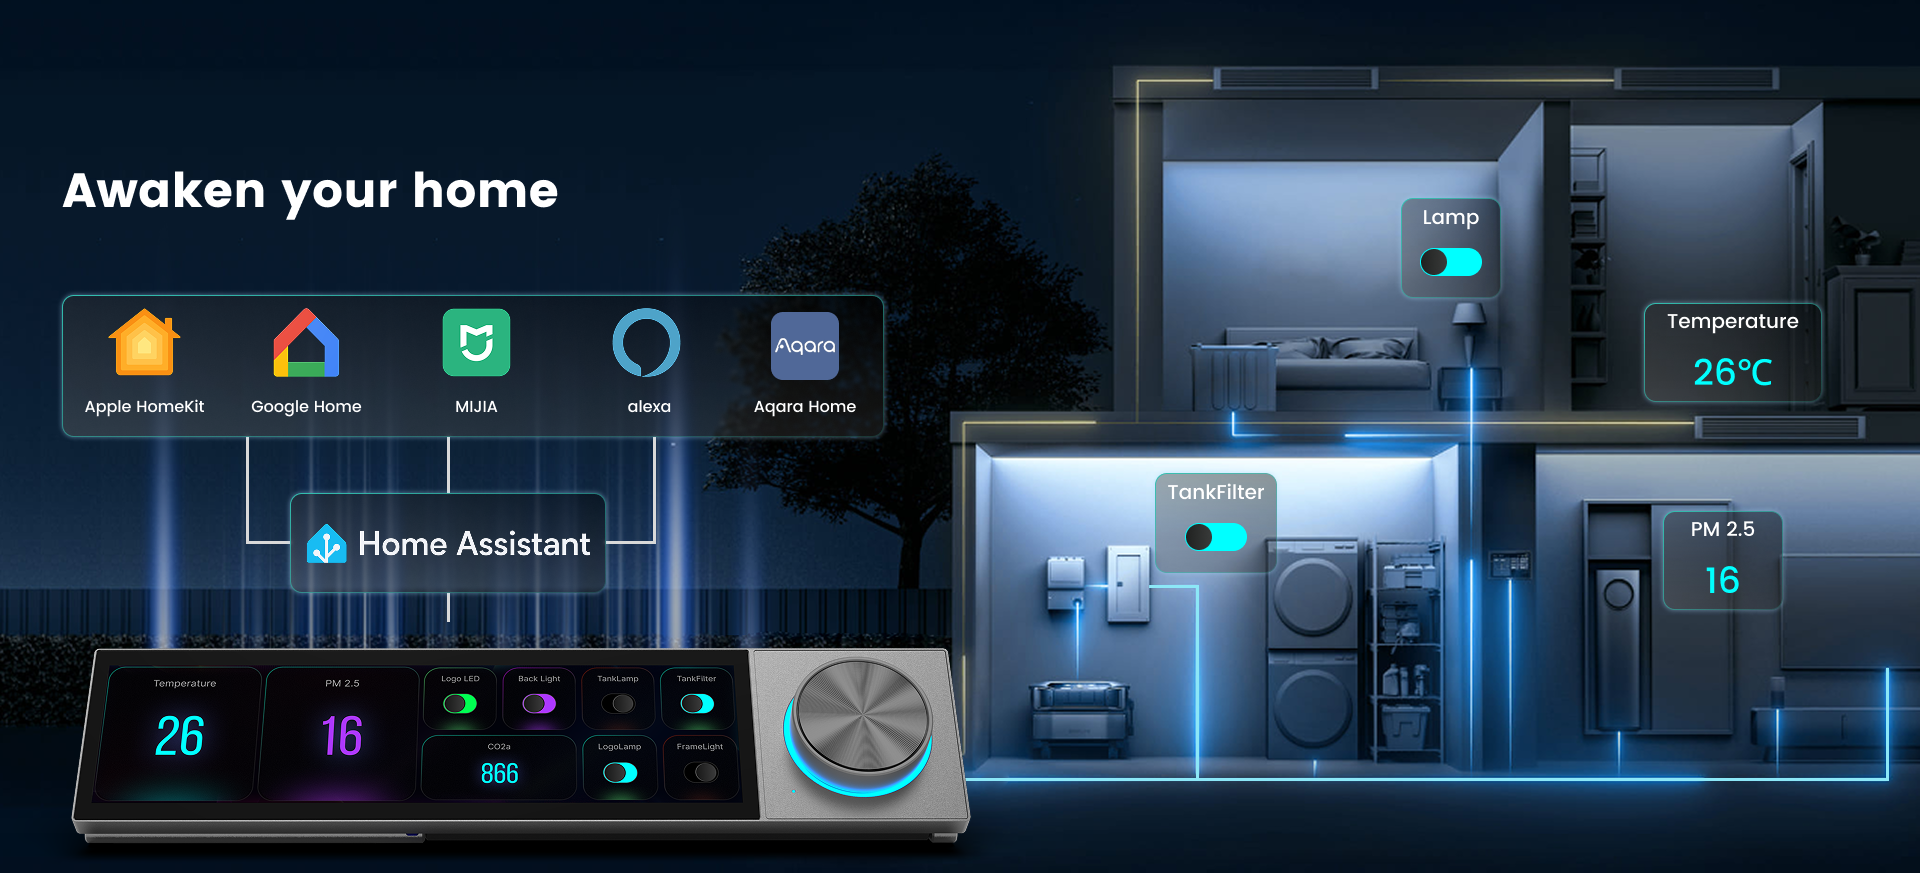
That’s up to you. Automate your expense reports. Turn your desk into a smart home hub. Build a live dashboard for your stock portfolio. Control your 3D printer. Quake is a canvas — not a cage.
👉 One screen. One knob. Unlimited possibilities.
Technical Specifications
DECOKEE Quake
Display & Interaction
| Panel | 8.88" IPS LCD, 1920×480 resolution |
| Touch | 5-point capacitive touchscreen with gesture support |
| Brightness | ≥450 nits |
| Knob | Infinite rotation + push-button + RGB light ring for status feedback |
| Lighting Feedback | Indicates recording, translation, or AI activation states |
Connectivity
| Video Input | HDMI |
| Data & Power | USB 2.0 (Type-C) |
| Power Supply | 5V / 2A via USB |
| Compatibility | Windows / macOS / Linux |
Construction & Design
| Body Material | Aluminum alloy (CNC machined) |
| Finish | Anodized matte with metallic texture |
| Rear Window | Transparent backplate (DECOKEE signature aesthetic) |
| Form Factor | 0~60° ergonomic desktop viewing angle |
| Dimensions | 311 × 72 × 23.4 mm |
| Weight | ~800 g |
Audio
| Microphone | Far-field single microphone with algorithmic noise reduction |
| Purpose | Supports AI meeting notes, voice commands, and audio input |
More Discuss?
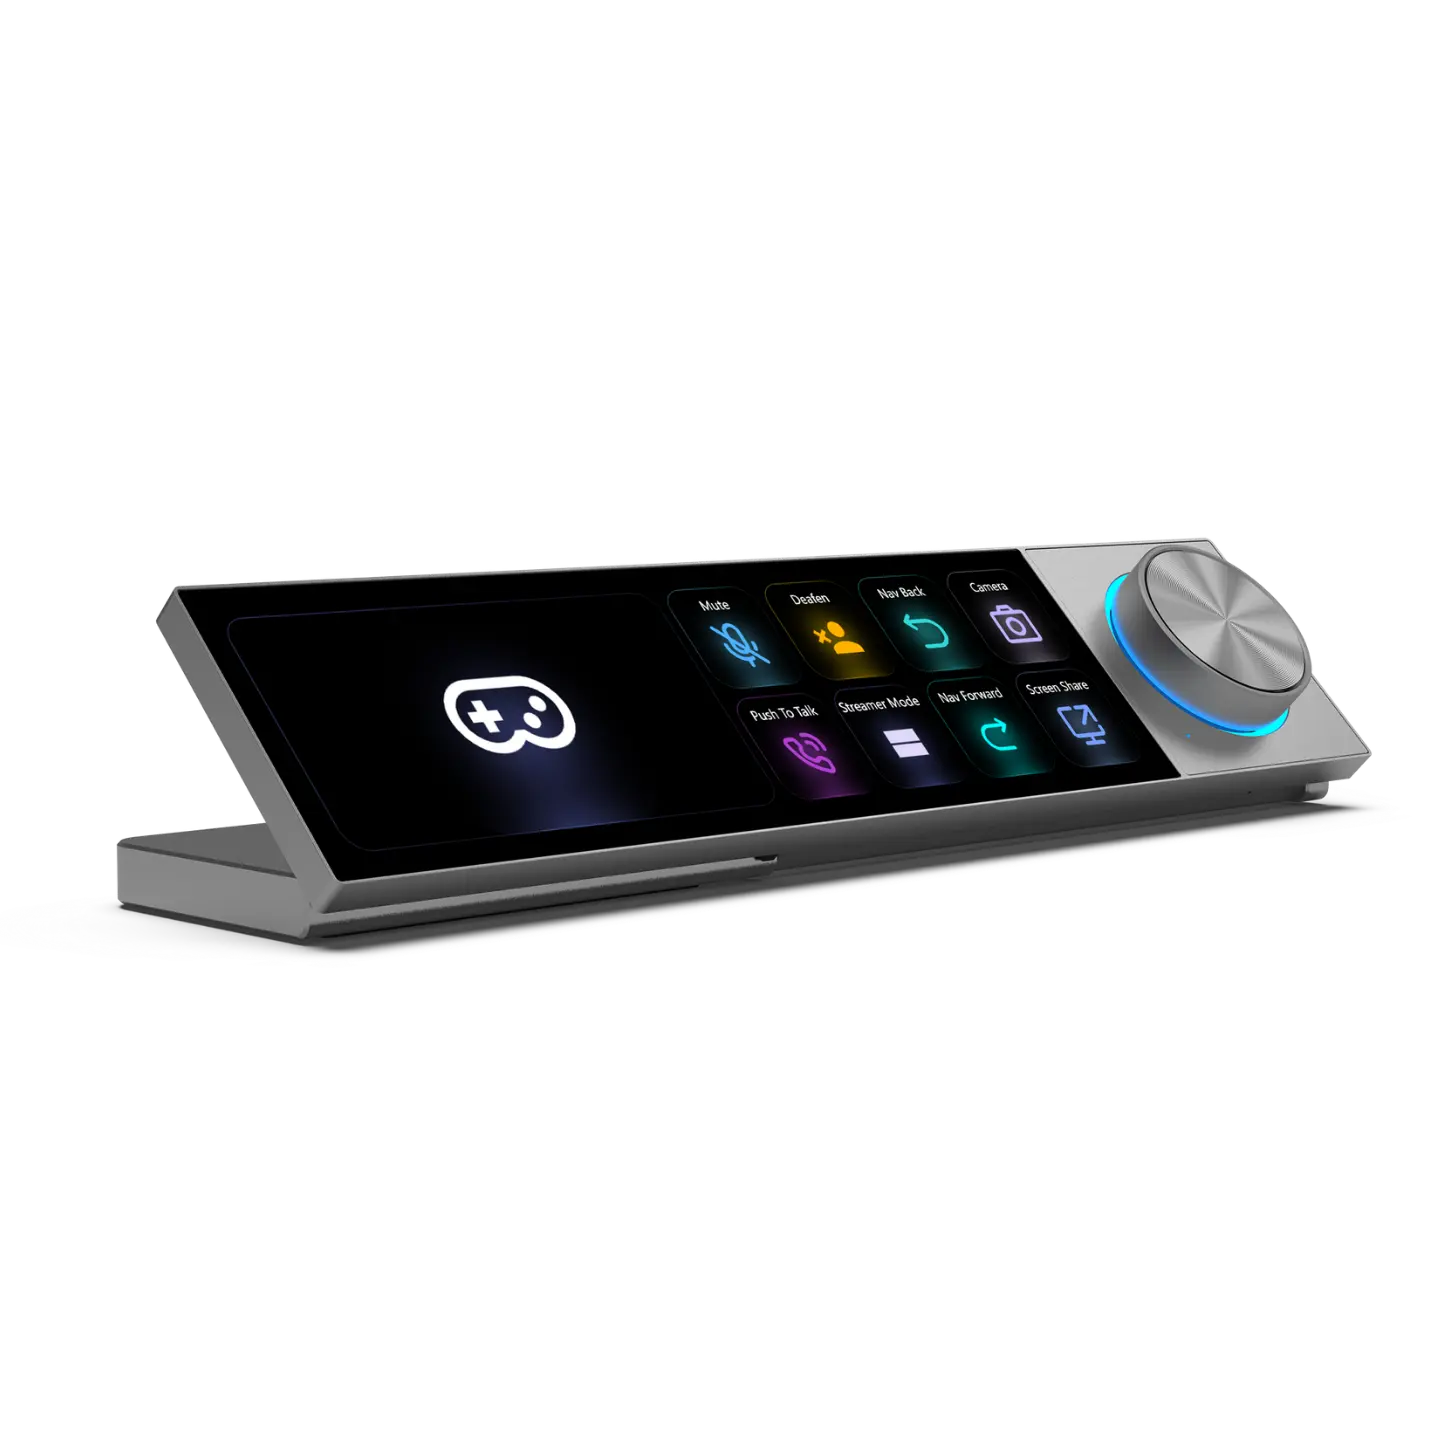
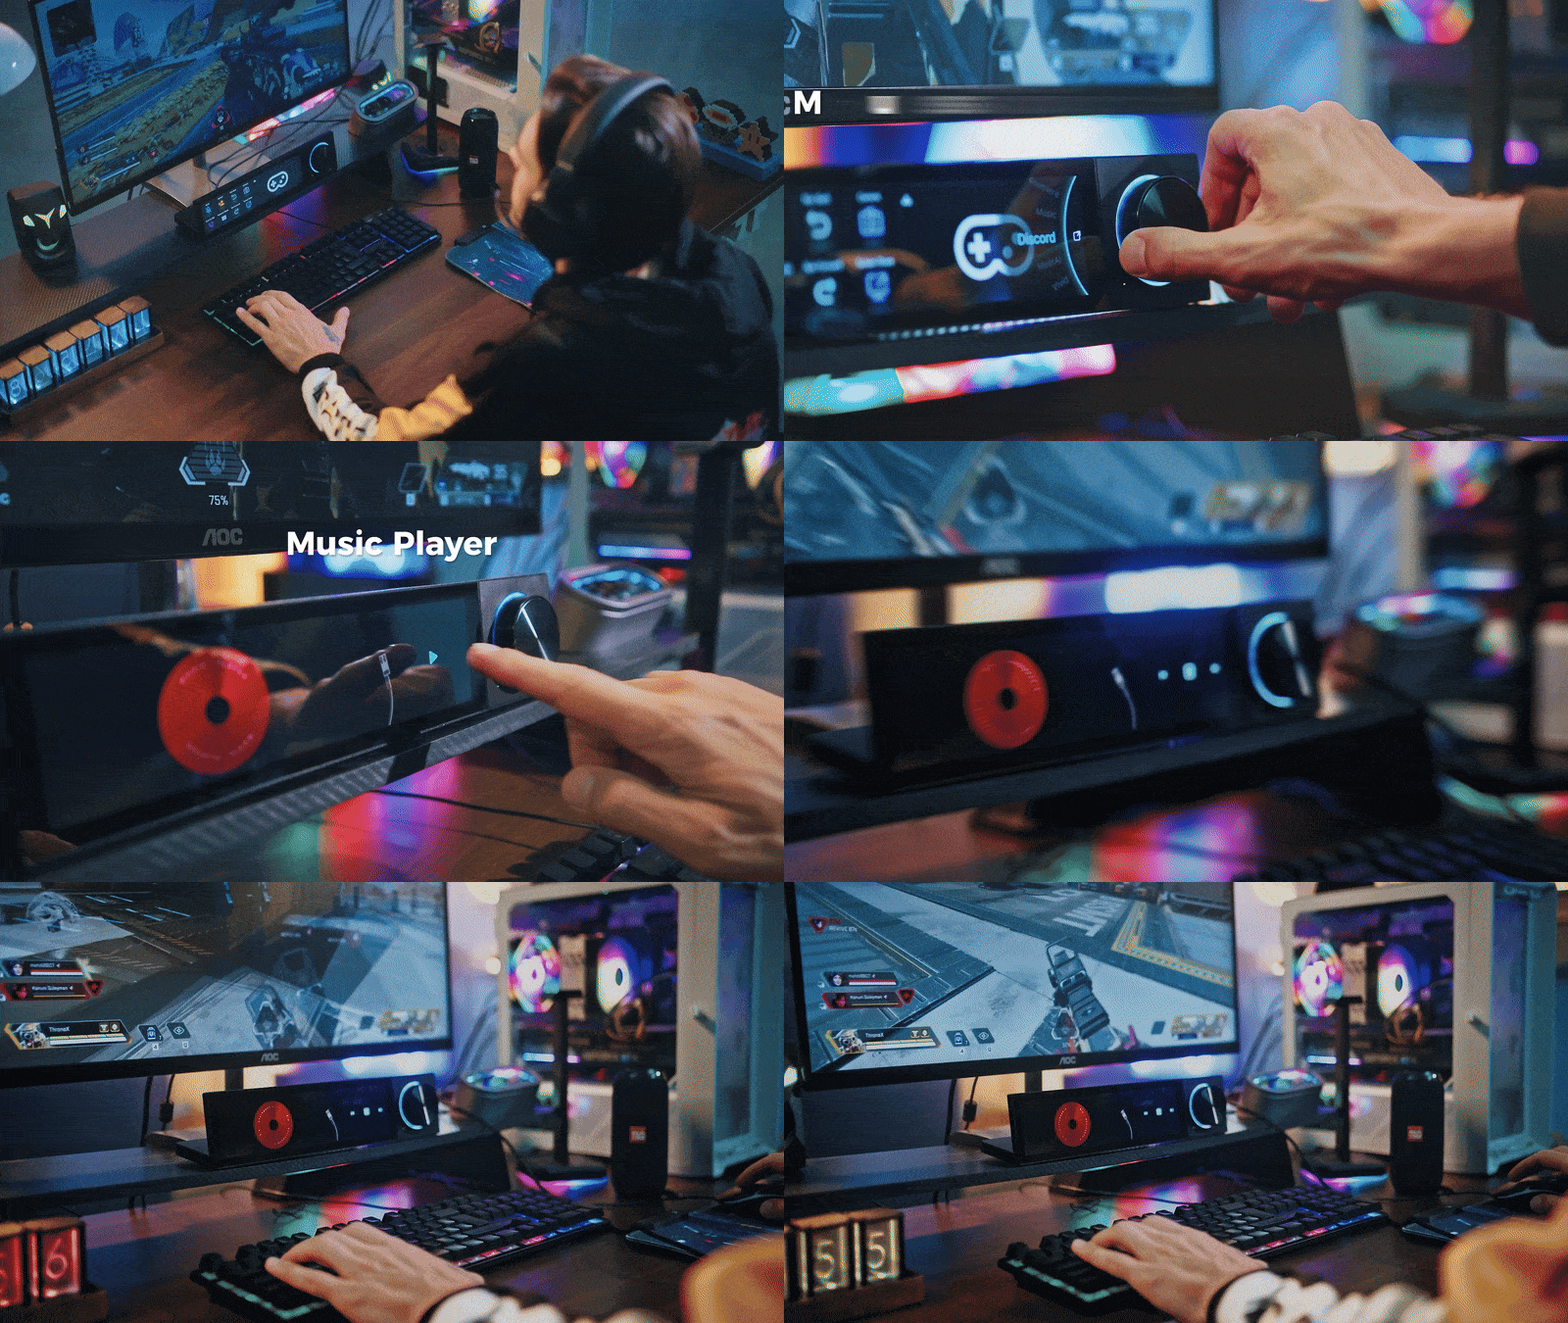
Discord Game Controls, OBS Studio Controls, Themes, AI Work Flow, and more...
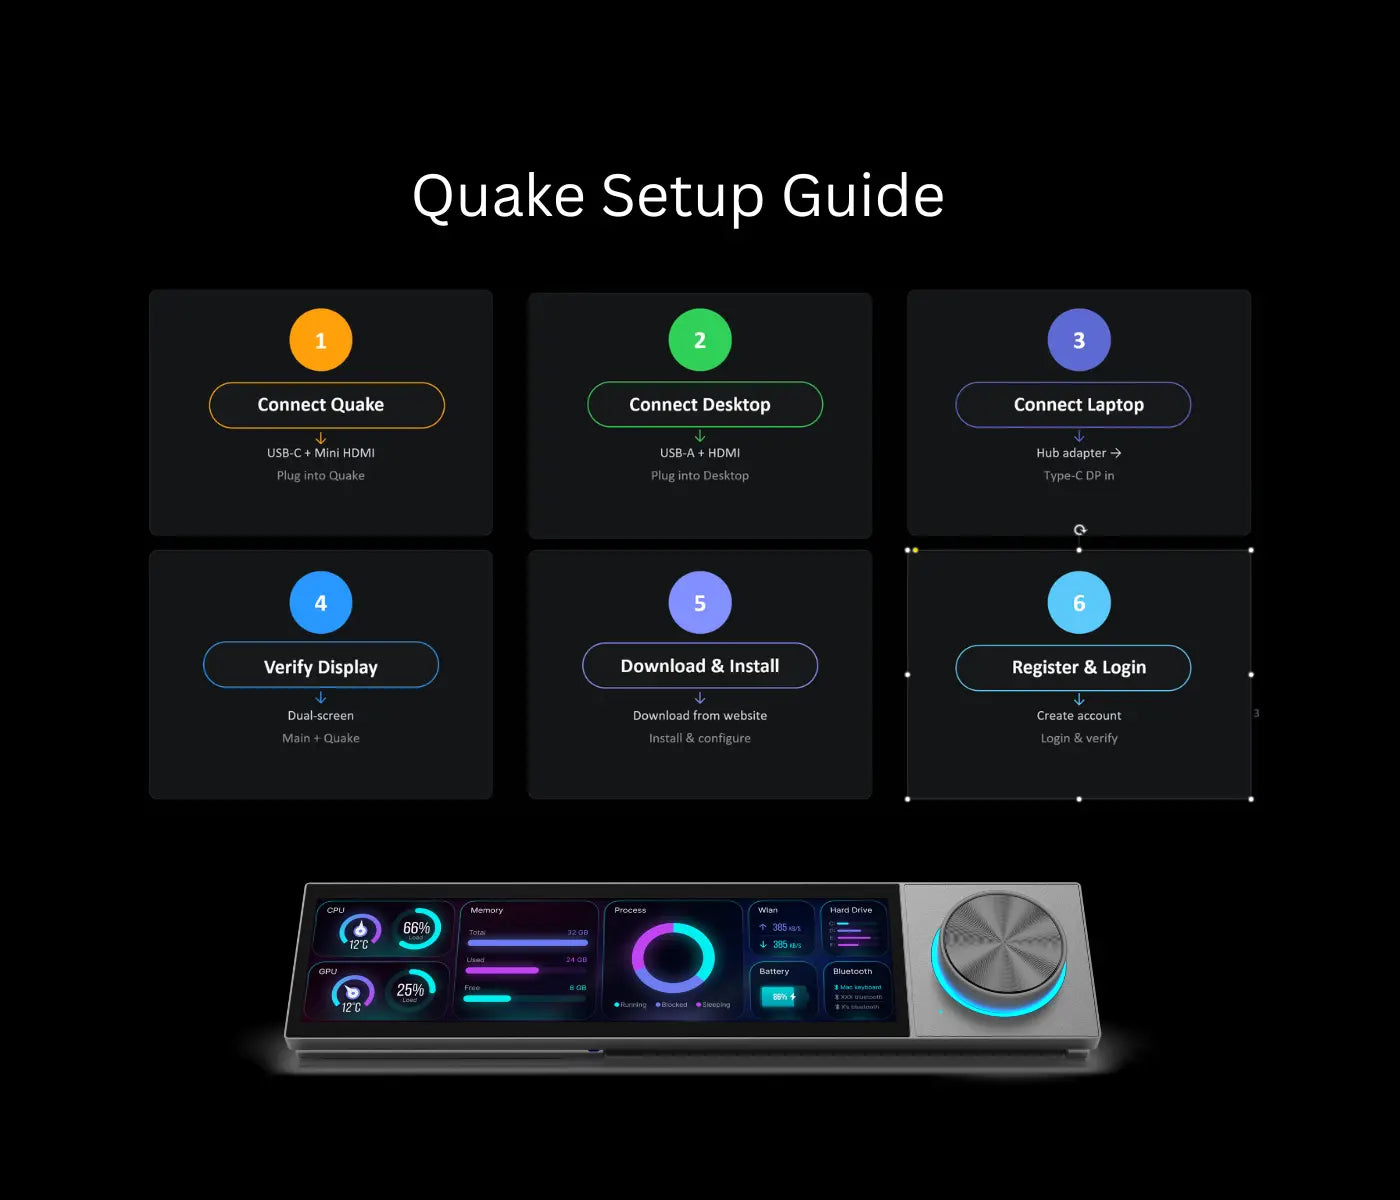
6 Steps to Enjoy your Quake Trip
Quake isn't just a touchscreen and a knob. It's the hardware plus DK-Suite software working together. Set it up once, unlock the full experience, and let Quake be your companion — your first desktop AI assistant.
FAQs
Please read our FAQs page to find out more.
After connecting Quake to my PC, the screen lights up briefly then goes black. Is the device broken?
This is normal behavior. If DK Suite (Quake’s companion software) is not installed, the screen will automatically turn off after 10 seconds. Quake’s display is fully controlled by DK Suite. Once you finish installing DK Suite, the screen will go back to normal as designed.
Why are two cables required to connect Quake to a computer?
Two separate cables are needed for distinct functions:
- USB-A to Type-C cable: Supplies power to Quake and transmits touch panel (TP) data between the device and your computer for touch input functionality.
- HDMI cable: Transmits video signals to display the screen output of Quake.
Both cables must be connected. Using only one cable will result in no touch control or blank screen.
When Mac only has a single Thunderbolt Type-C port. How do I connect Quake?
This is a common for Mac users. Quake requires separate USB power/touch data and HDMI video signal connections. You will need a Thunderbolt Type-C hub that supports DP Alt Mode, which splits the port’s video and data signals into independent USB-A and HDMI outputs. Plug Quake’s USB-A cable and HDMI cable into this hub respectively to achieve normal display and touch functions.
As Quake is connected to the desktop which has Display Card via both USB and HDMI, but there is no display output. Why?
This happens if you plug Quake’s HDMI cable into the motherboard HDMI port while your main monitor is connected to the discrete graphics card.
All display signals on this desktop run through the dedicated graphics card instead of the motherboard’s built-in video interface.
To fix this: Connect Quake’s HDMI cable to the same graphics card as your primary monitor, rather than the motherboard port.
My Windows laptop connects to Quake via a Type-C hub, but no screen appears. Why?
Many Type-C ports on Windows laptops do not support DP Alt Mode for video output. If you use such a port with a hub, no display signal will be transmitted to Quake.
Solution: Use a Type-C port that supports DP video output or a native HDMI port on your laptop to connect the hub.
After installing DK Suite for Quake, why do I get errors when using AI Chat, voice interaction, AI Meeting and other OpenClaw AI features?
You must register and log into your account in DK Suite first. Free usage credits will only be activated after successful login, which are required to access all AI-related functions on Quake.